2.3 kilos of flies per week: how to get rid of insects in the country according to the Australian method
Categories: Animals | Life hacks
PictolicOne of the residents of Australia decided to check how the device works, the drawing of which he took from old books. Inside the post you will find his detailed story about the creation of a fly trap from the Australian colonialists, as well as an impressive "catch" (the view, of course, is not for the faint of heart).
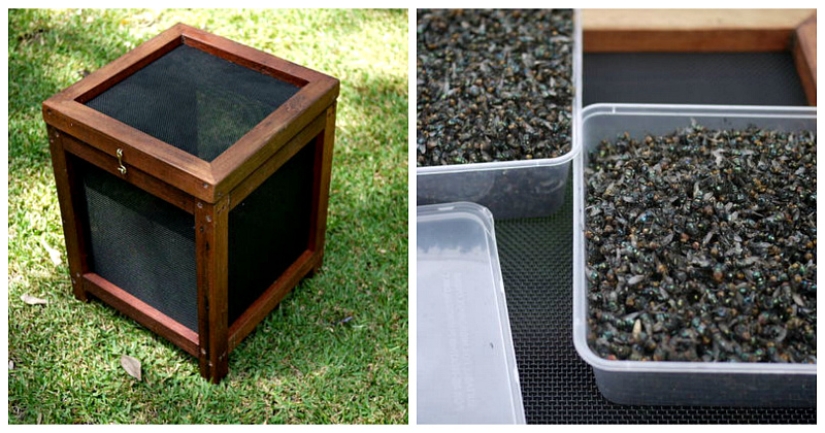
It's about a dry trap, once in which flies die from dehydration.
I made it with my own hands from boards and mesh in just a few hours and after 10 months of operation I can say that this is the most high-tech solution without the use of chemistry. In the end, you will see the visual result of her work and, I am sure, you will be very surprised.
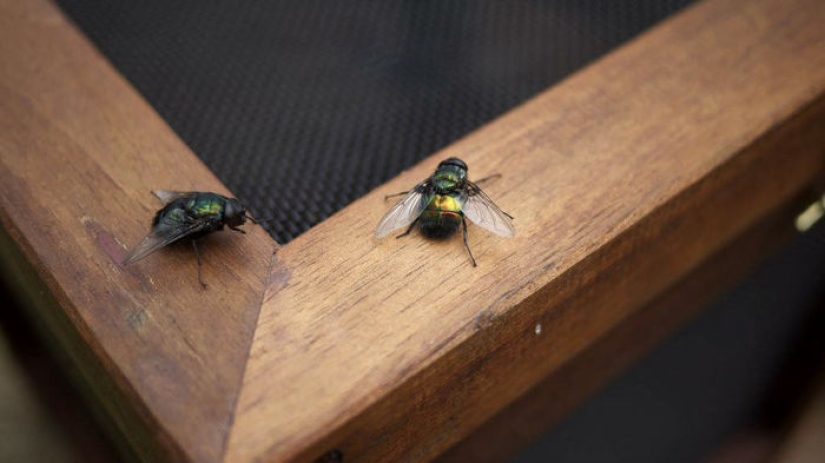
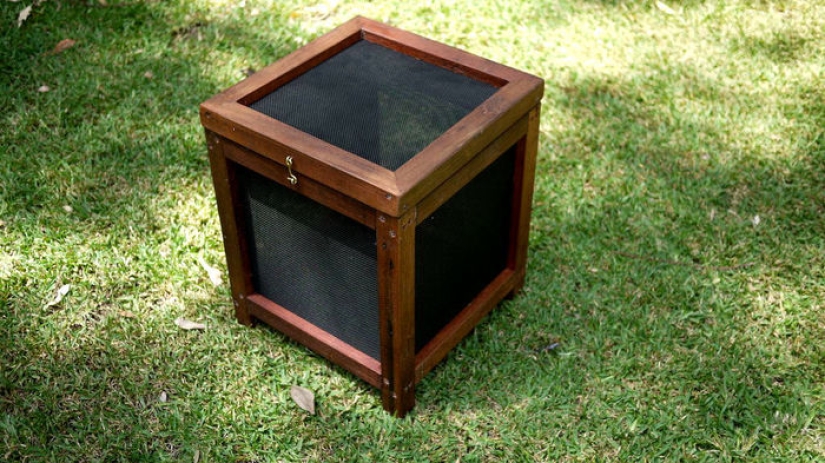
Externally, the trap resembles a small bedside table made of wood. The design of the trap must be transparent to sunlight, so its walls and lid are made of mesh with small cells.
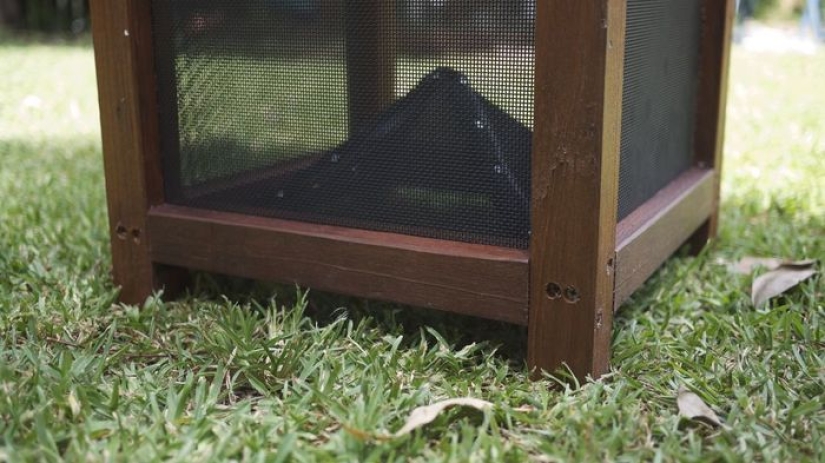
The main secret of the design is the pyramidal bottom. Flies always fly up to the light, so the bottom of the trap is made in the shape of a pyramid. The transparent mesh "deceives" the fly, no matter how funny it sounds.
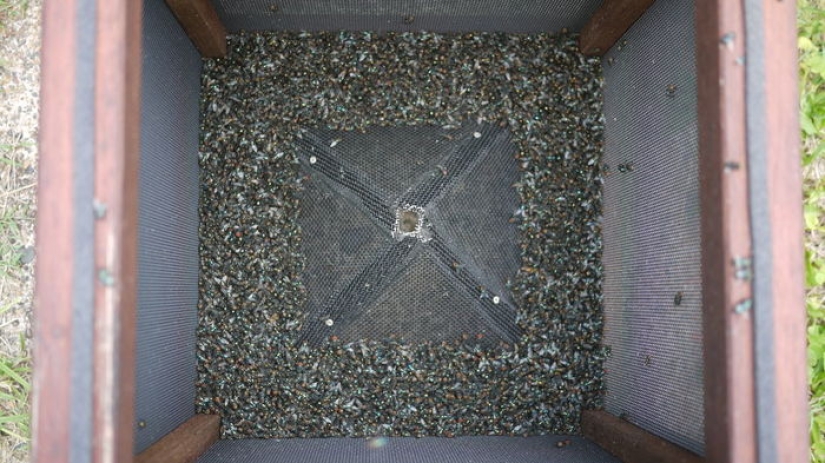
I can't resist spoiling about its effectiveness. Guess how long it took? You will find the answer at the end of the article.

As you could already clearly see, the design of the flycatcher is quite simple, and it can be assembled from improvised means: remnants of lining or timber, boards from an unnecessary fence, an old stool or even a bedside table.
I approached the work creatively and decided to make a fly trap so that it would give the impression of a professional one.
For this:
— First I developed the design on the computer. — I decided to use Australian red cedar as the material. — The walls will be made of stainless mesh. — The base pyramid will also be made from this grid.
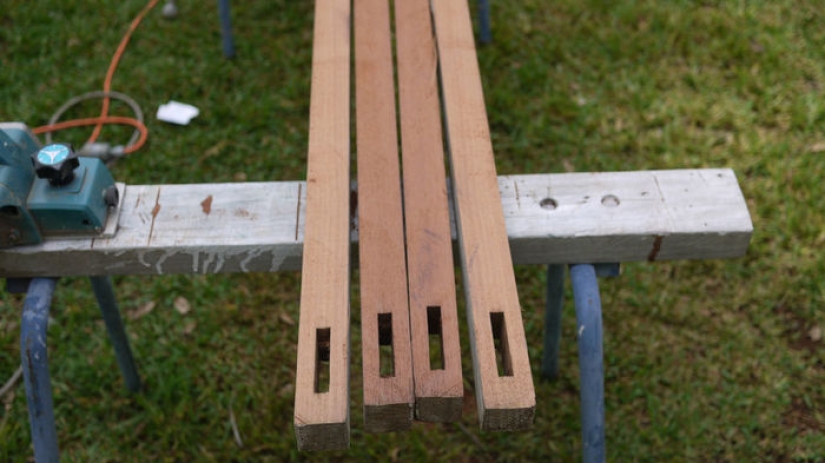
Frame manufacturing.
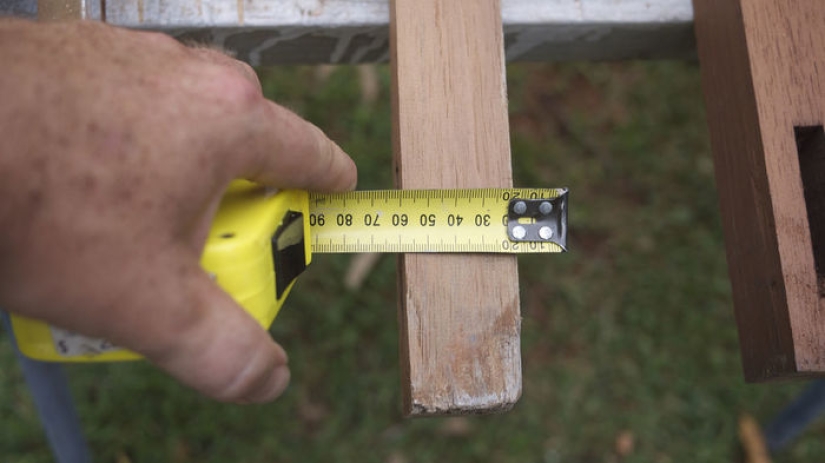
The first thing to do is to figure out what size of your frame you can have with your wood. In my case, this is a 40×40 mm beam.
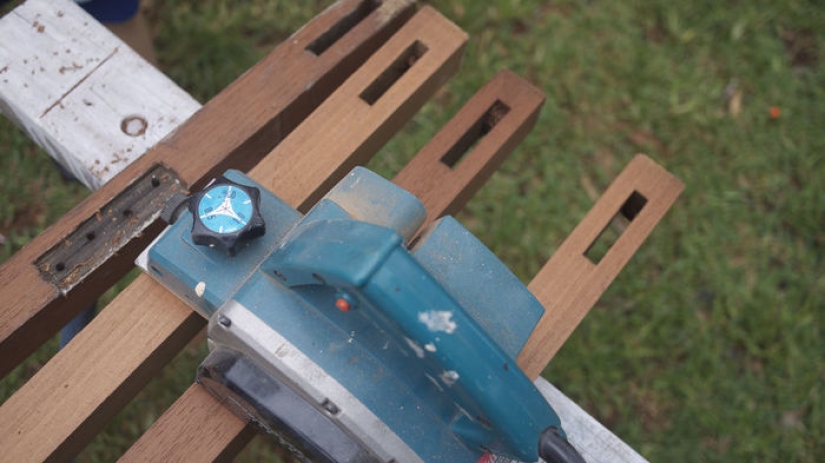
With the help of a grinder, I bring the wood to a normal state and start making grooves for installing the mesh.
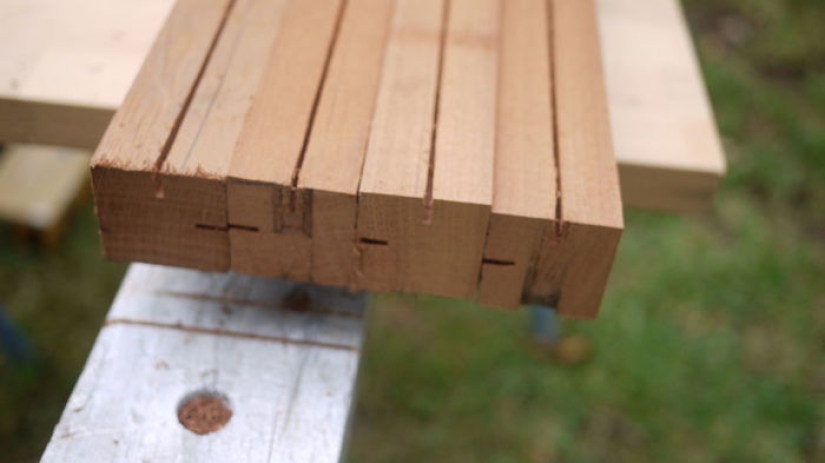
Pay attention! The mesh can be screwed to the frame with screws, but, again, I wanted to make a high-quality flycatcher, so I approach the process professionally.
— I set the depth of the saw to 12 mm, clamp the bar and make the first cut. Then I repeat the same operation on the other side of the beam so that they are at an angle of 90 degrees. — Again we recall our task — to make a professional model. Therefore, I arm myself with a plane and remove the chamfer at the corners to give the legs a more noble look. — Then I wax the wood to, firstly, give a richer color, and secondly, protect it from moisture.
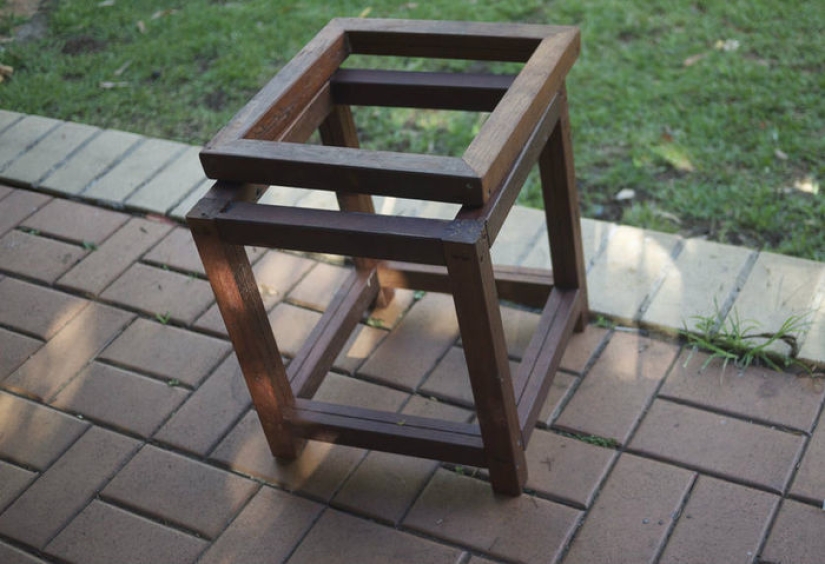
Assembly of the frame and lid.
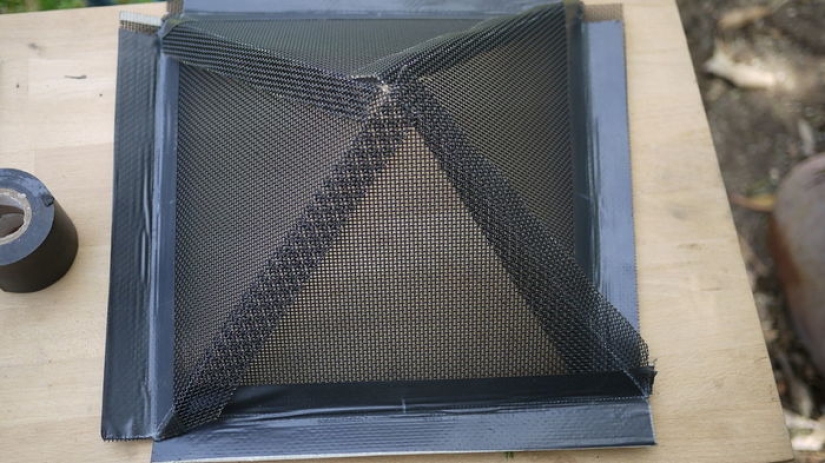
I'm starting to create the most important part of the flycatcher — the pyramidal bottom. This process should be given maximum attention.
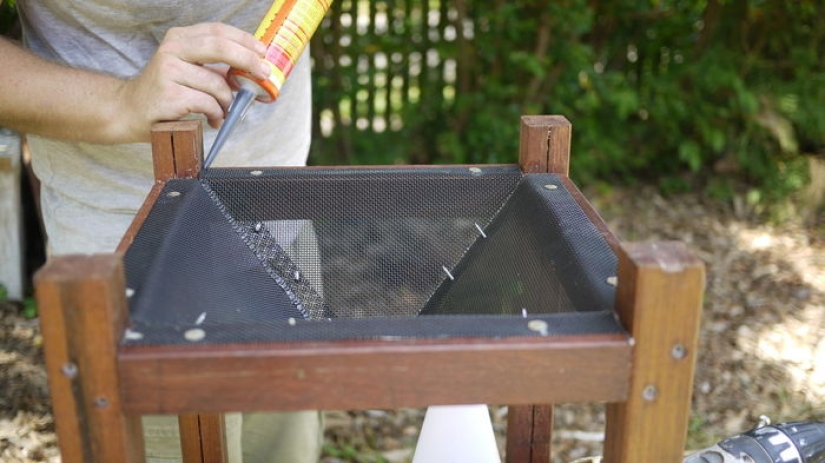
When the mesh has been cut and bent, I turn over the body of the wooden flycatcher and fasten the first element of the grid-the pyramid. I repeat the same steps with three other pieces of the grid so that the top of the pyramid is inside the body of the trap.
Later, as soon as everything is dry, I cut out the top of this pyramid to create a larger hole.
This is an important part of the work that affects efficiency:
— too small an opening — and the flies will not enter; — too large — and they will escape.
Pay attention! I cut the top of the pyramid to 25 mm.
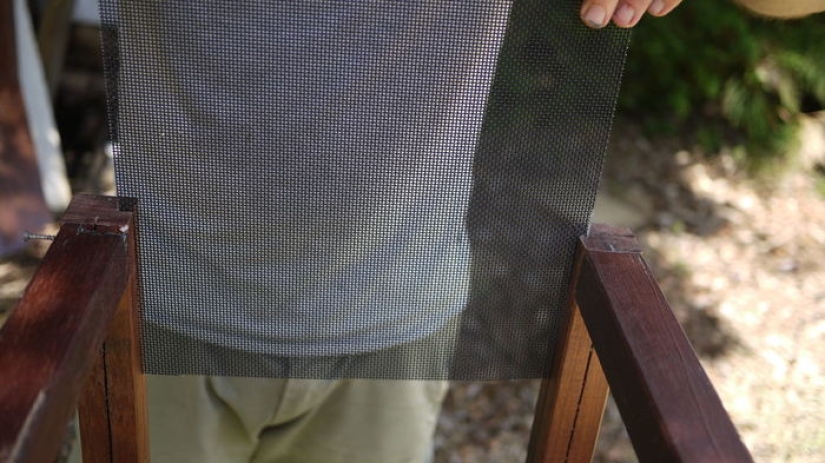
If you have done everything correctly, installing the grid in the slots will not cause difficulties.
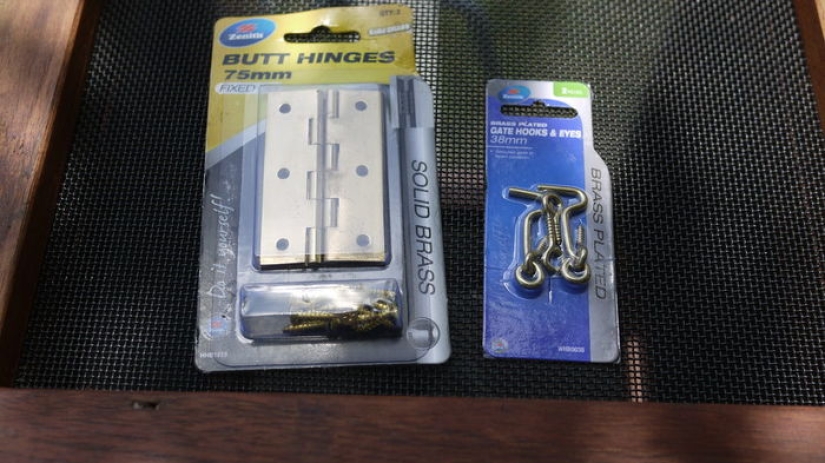
I bought copper hinges and a snap hook. Then I drilled holes for screws in the wood and screwed the hinges to the body and lid.
And then the promised trash awaits you… As promised at the beginning of my story, I will tell you and even show you clearly how the Australian flycatcher works.
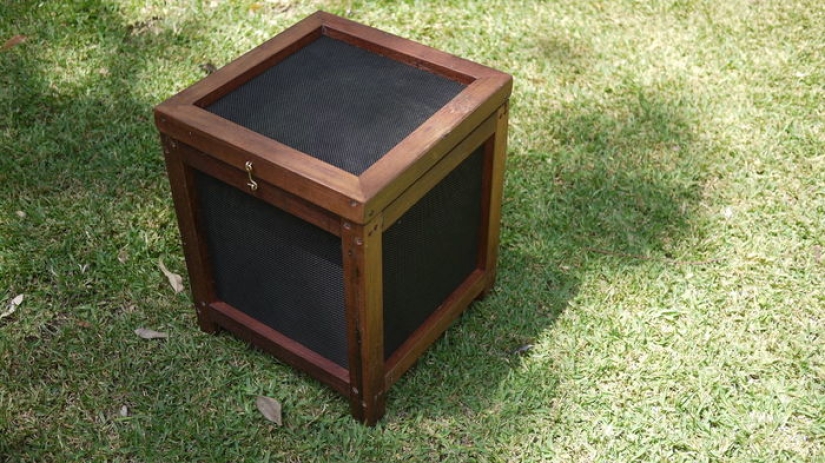
I install it on the lawn.
Advice! Baits can be made by yourself, or you can buy them in household goods stores. I specifically do not specify the names, because they are produced by local manufacturers for your area.
And finally, the results of the work for the week — all seven days the flycatcher stood on the lawn by the gazebo, and the flies did not bother us at all.
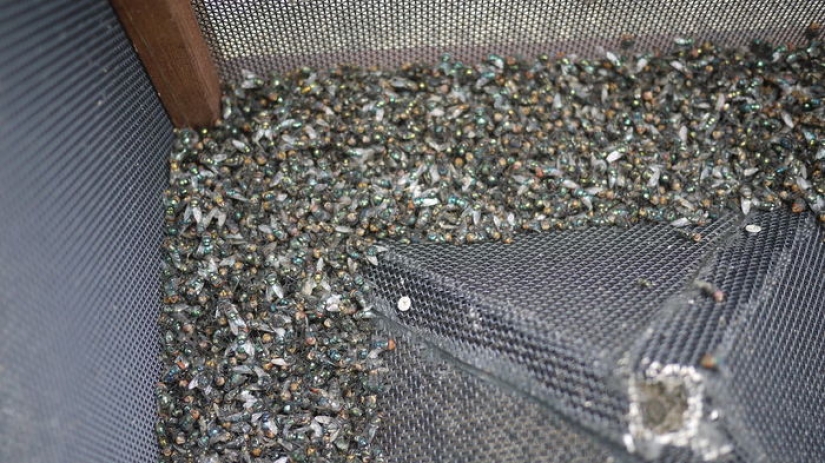
It's time to evaluate the effectiveness, and for this I opened the lid.
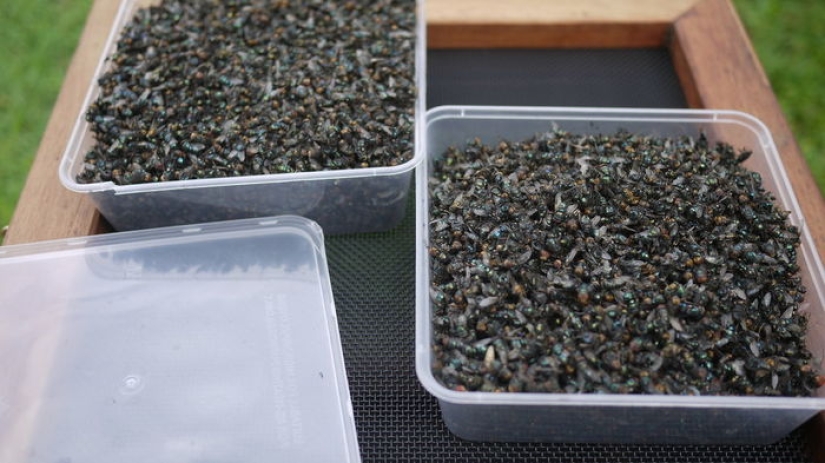
There were just a huge number of dead flies. I even wanted to evaluate the result with mathematical accuracy, and for this I made some measurements:
— To begin with, I poured them into empty plastic containers. — Then weighed on an electronic scale. The result is 2.3 kg!
Two and a little kilograms in a week, and the flies died from dehydration and their weight was significantly reduced.
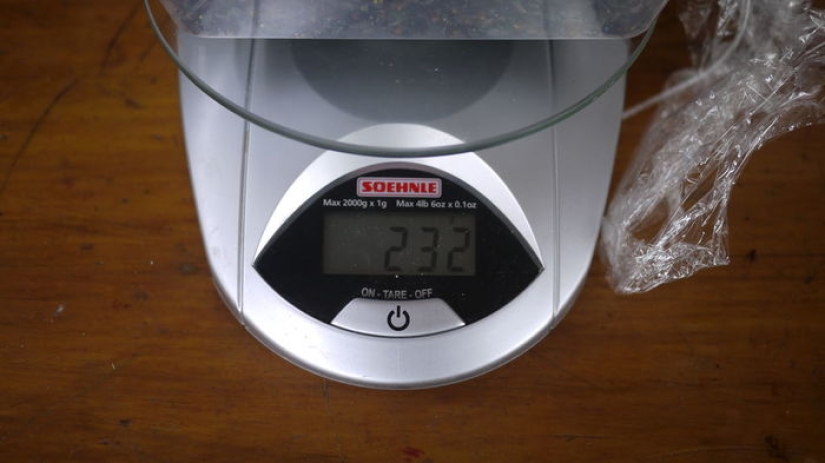
By simple calculations and intermediate weighings, I calculated that in just a week my flycatcher caught 1800 flies! Can you imagine how this whole horde would spoil my rest if it weren't for the flycatcher?
Keywords: Trap | Flies | Insects | Diy
Recent articles

It's high time to admit that this whole hipster idea has gone too far. The concept has become so popular that even restaurants have ...

There is a perception that people only use 10% of their brain potential. But the heroes of our review, apparently, found a way to ...
Related articles

We are accustomed to the fact that white and fluffy animals — it's cute and photogenic creatures that want to stroke and fondle. ...

In this issue you will find a large selection of macro photographs of Rostislav Mashin, taken during several trips to Lake Baikal ...

Are you afraid to give injections? Don't like the taste of cough syrup? Does the thought of a painful massage cause you horror? And ...

New Year's is a time to surprise and delight loved ones not only with gifts but also with a unique presentation of the holiday ...