How to sew a medical mask with your own hands
Categories: Health and Medicine | Life hacks | World
PictolicThe protective mask can be sewn with your own hands! The collection includes 4 different master classes and patterns.
In the season of colds and infections, a medical mask can serve as an additional aid in protecting against the disease. But if masks are in short supply and you can't find them in pharmacies, you can make a face mask with your own hands. Of course, such a mask will not be completely equivalent to the factory one, but it will still provide some protection. In addition, the fabric mask can be washed and reused.
Just in case, here are the main recommendations of doctors on the use of masks and behavior in general during the spread of viral infections:
By the way, a mask sewn from a fabric with your own hands can help during seasonal allergies. For those who are allergic to flowering plants, doctors recommend wearing such a mask when going out. It can limit the ingress of the allergen into the body during breathing. So, how to make a face mask with your own hands.
One of the simplest options for a face mask that you can sew with your own hands.
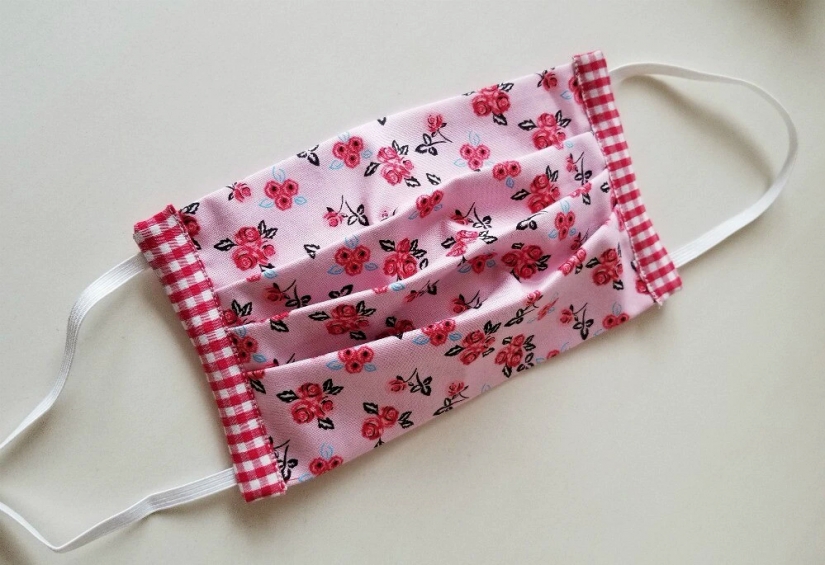
The mask sits comfortably due to the laid folds. The dimensions are designed for the average adult, if necessary, adjust them.
You will need:
Step 1
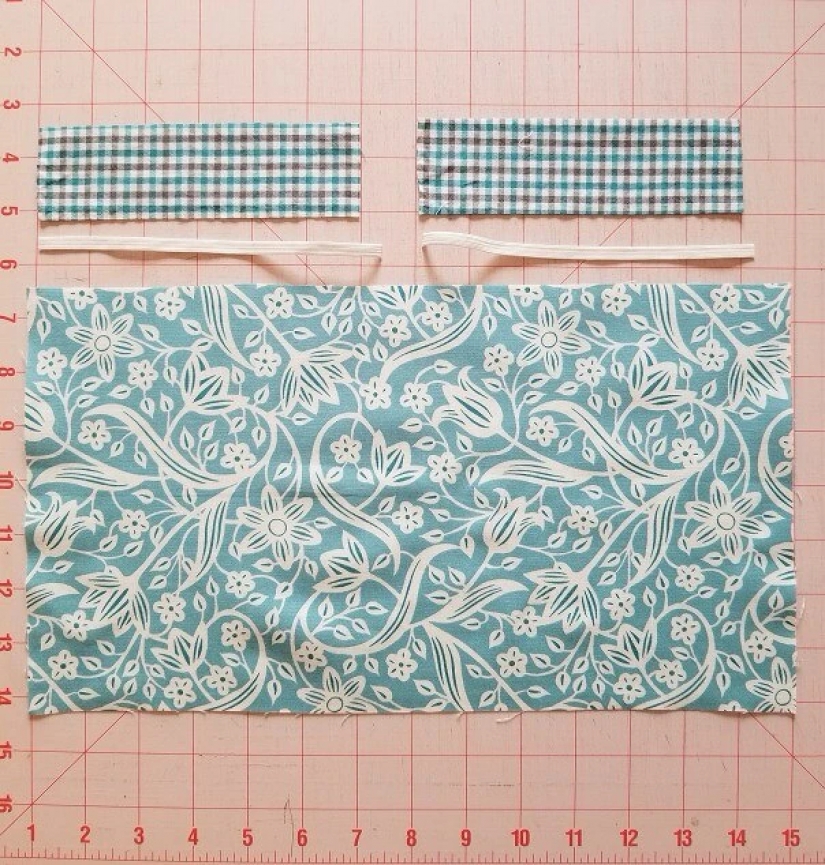
Cut out the details: 1 main part 20×36 cm, 2 strips 4.5×10 cm. Also, cut 2 pieces of elastic braid of 16-17 cm each.
Step 2
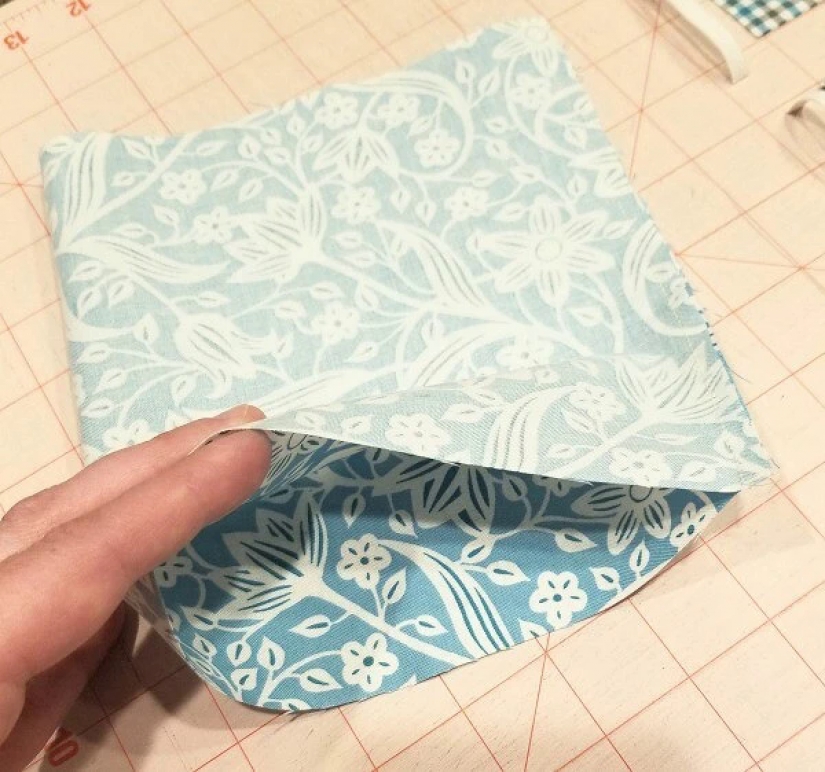
Fold the main part in half with the face inside, as shown in the photo. Sew on the side with a length of 20 cm, leaving an allowance of 0.7 cm.
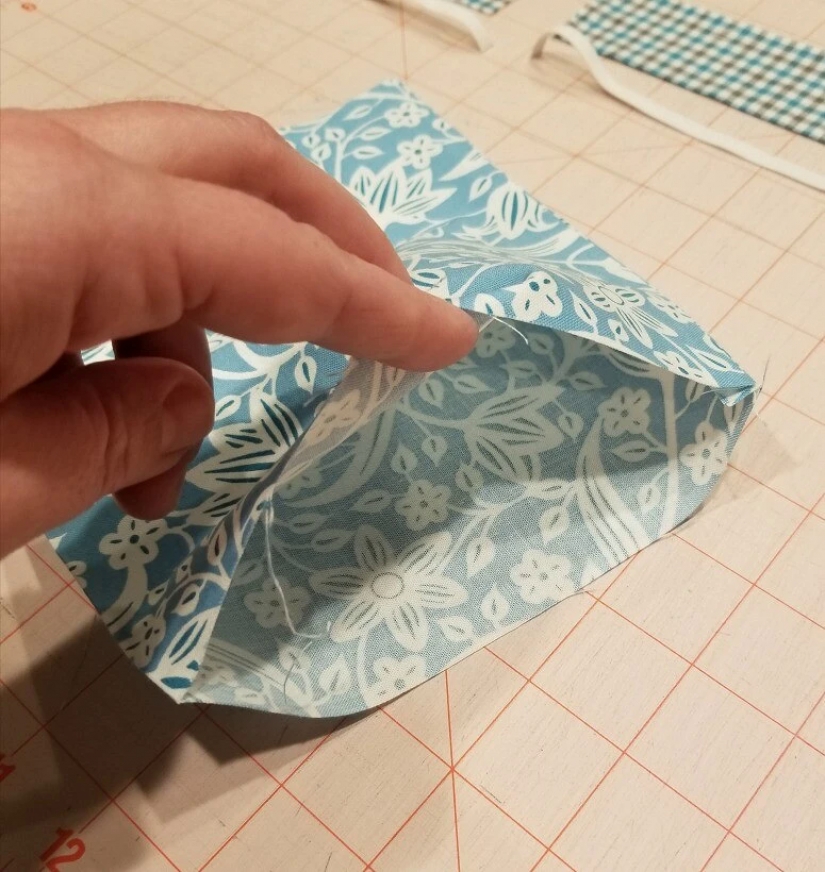
Turn out the part, straighten the allowances and iron it.
Step 3
Now lay the folds. Lay out the part so that the raw edges are on the sides, and the seam is on the bottom.
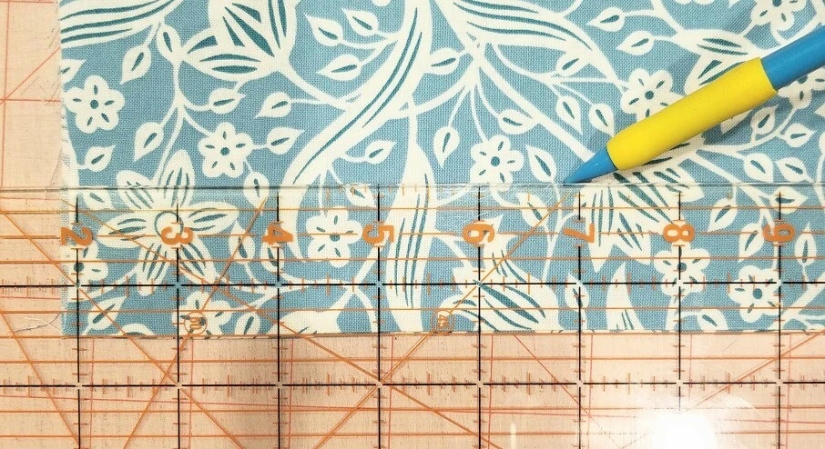
Measure 3.8 cm from the bottom line, mark it, and draw a horizontal line. Measure 2.5 cm up from this line and draw a second line.
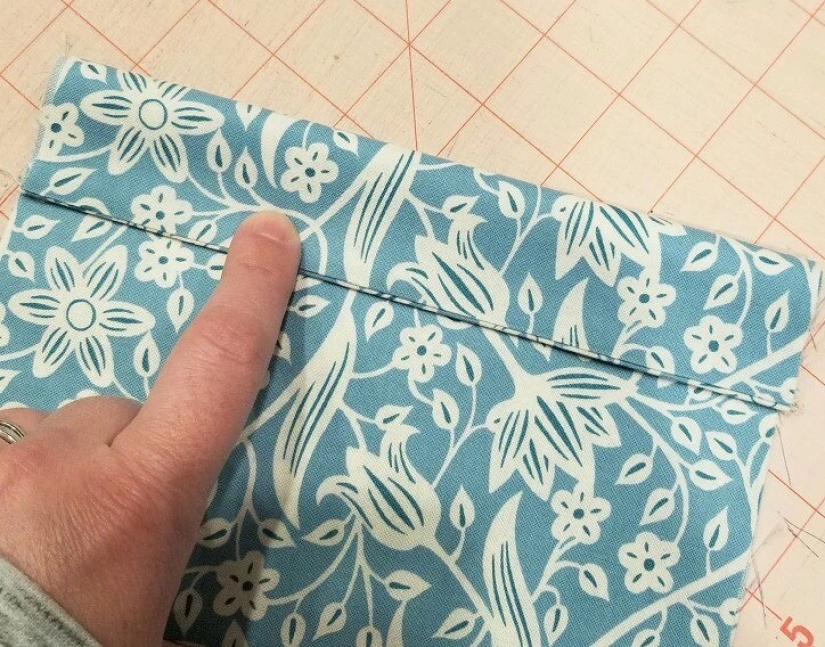
Lay the crease as shown in the photo.
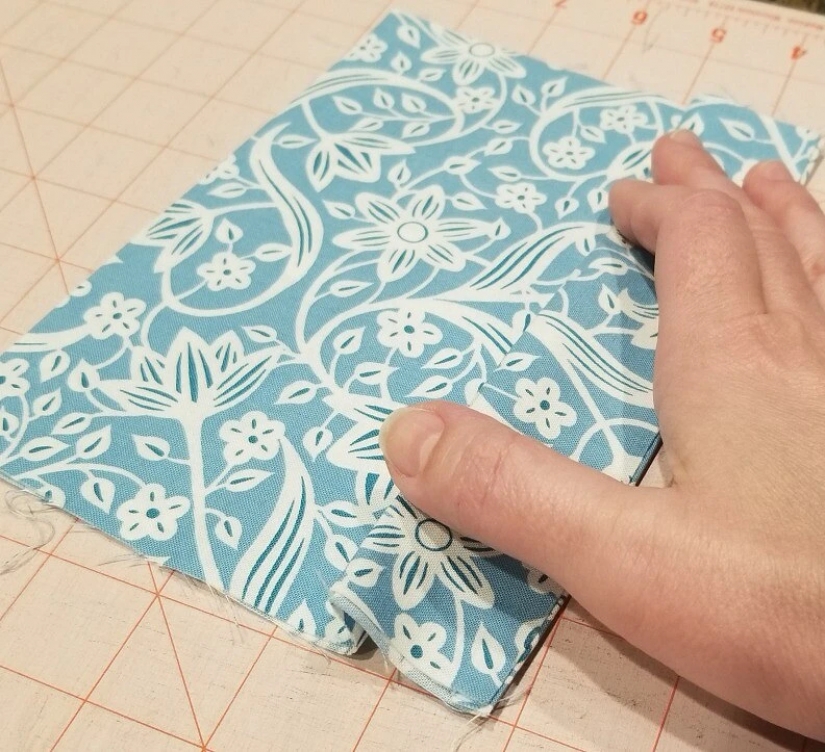
The lines drawn should match, the depth of the fold will be about 1.7 cm.
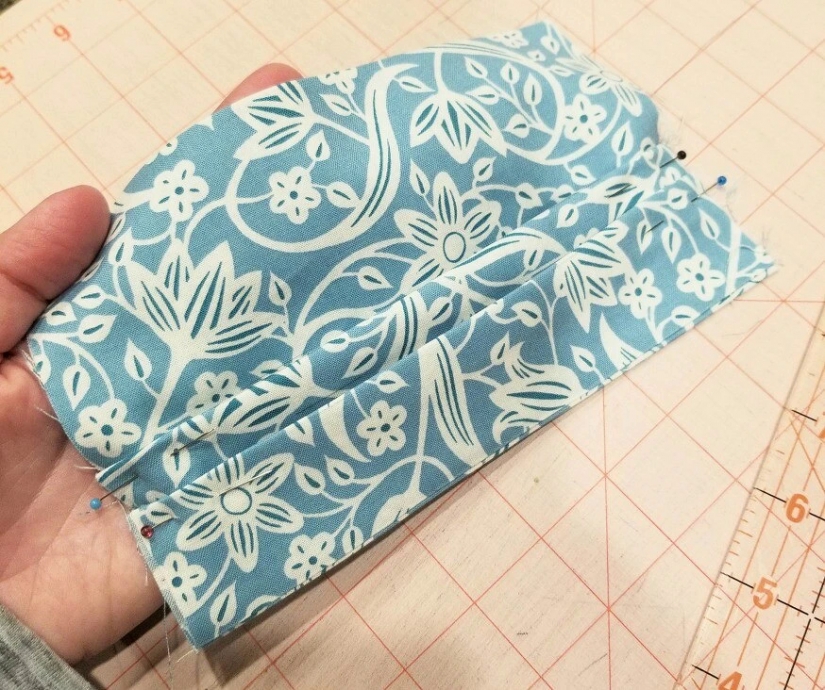
Secure the crease at the edges with pins.
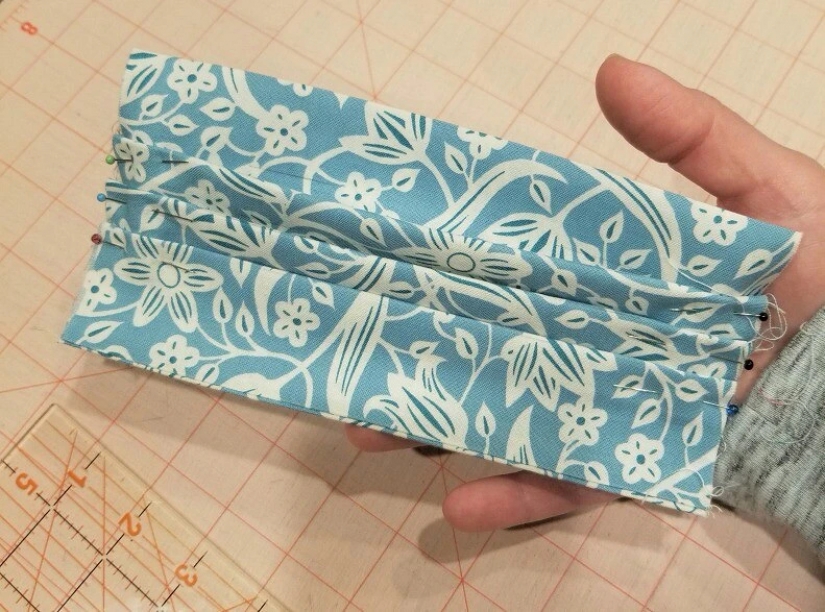
To lay the second fold, measure 1.7 cm from the top line (it is also the fold line) and draw a line.
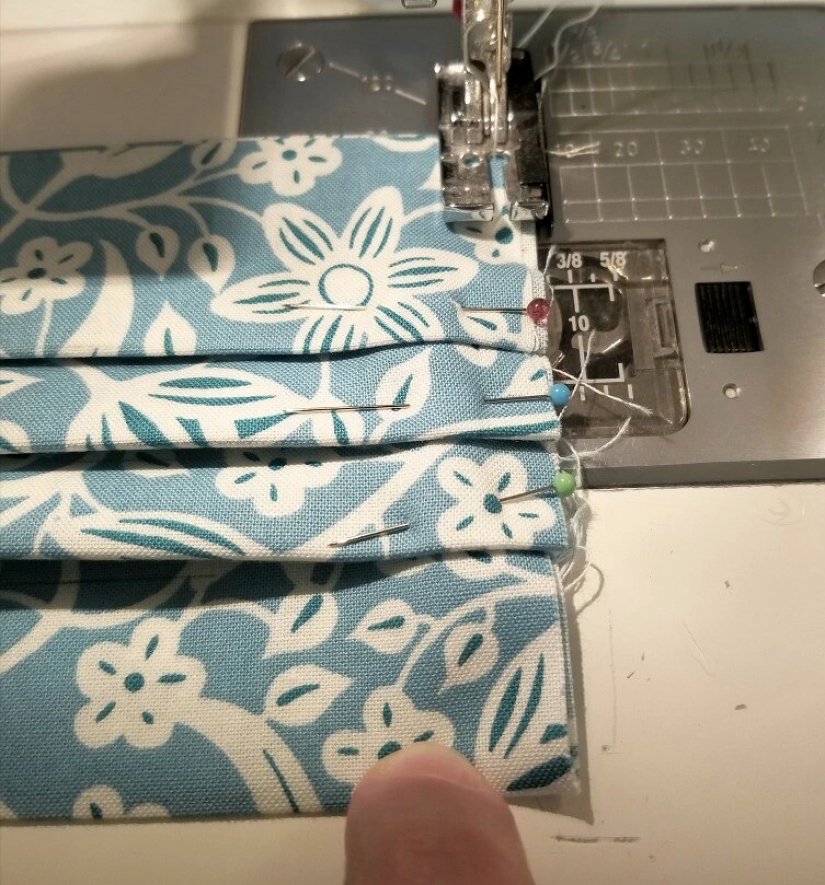
Then measure 2.5 cm from this line and draw another one. On these lines, lay the second fold so that the lines coincide. In the same way, lay the third fold.
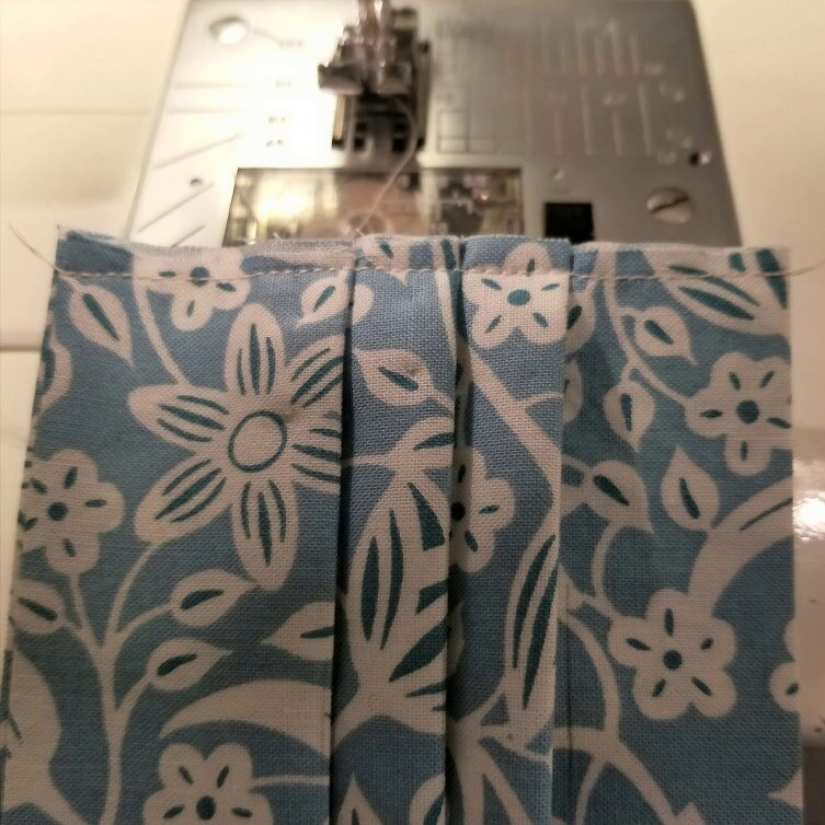
Lay the lines, fixing the folds.
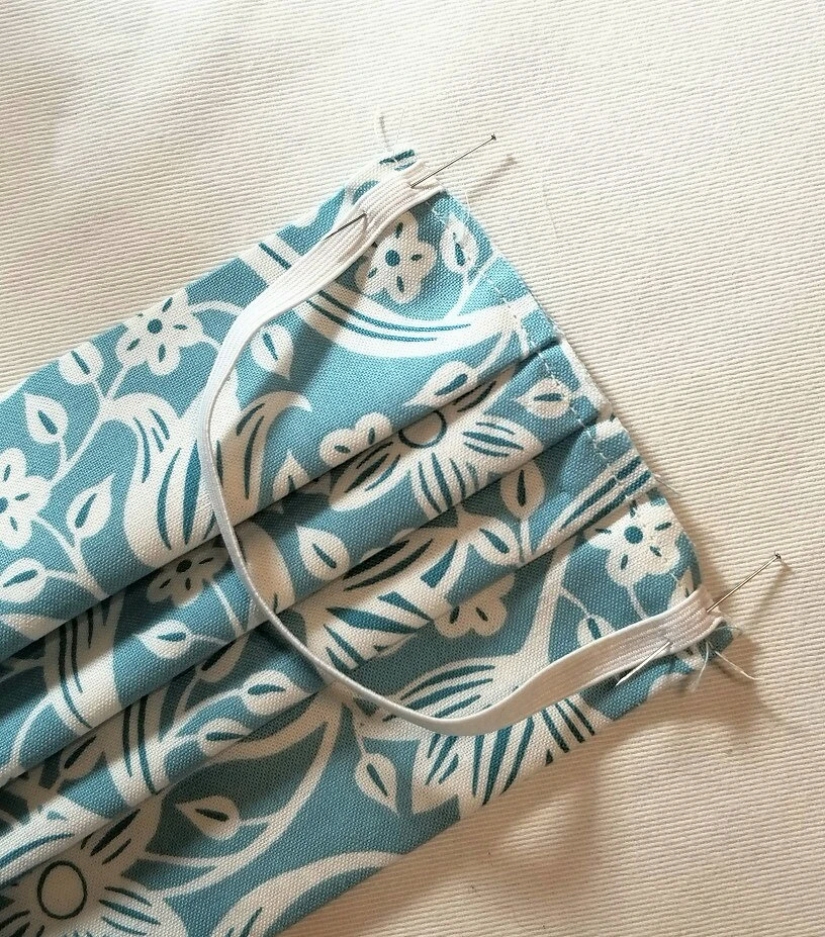
Pin the elastic band to the edges of the mask, as shown in the photo.
Fasten the ends of the braid with short lines.
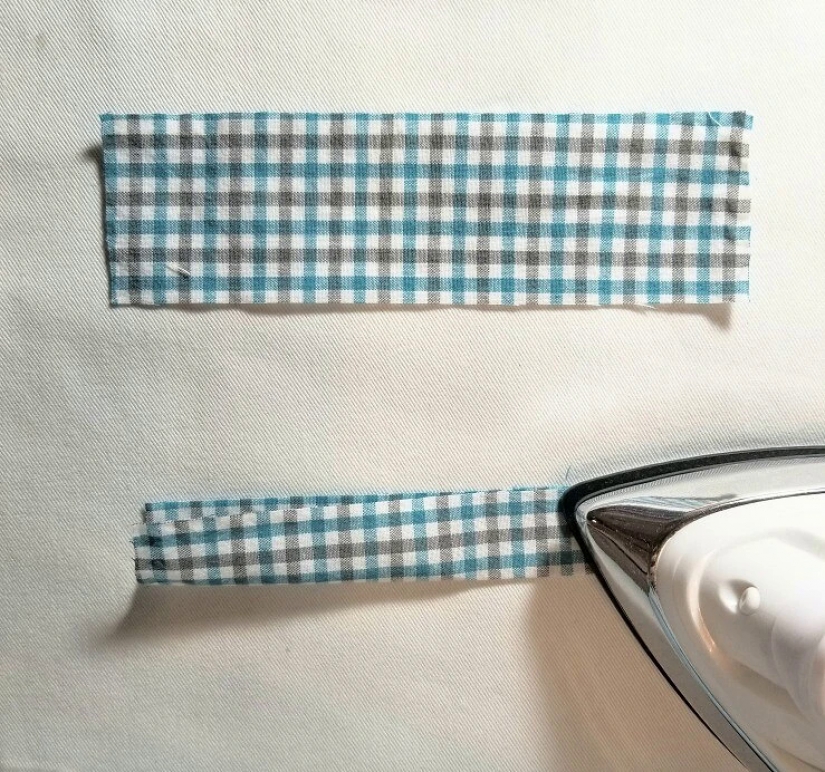
The strips for finishing are folded along the inside out and ironed.
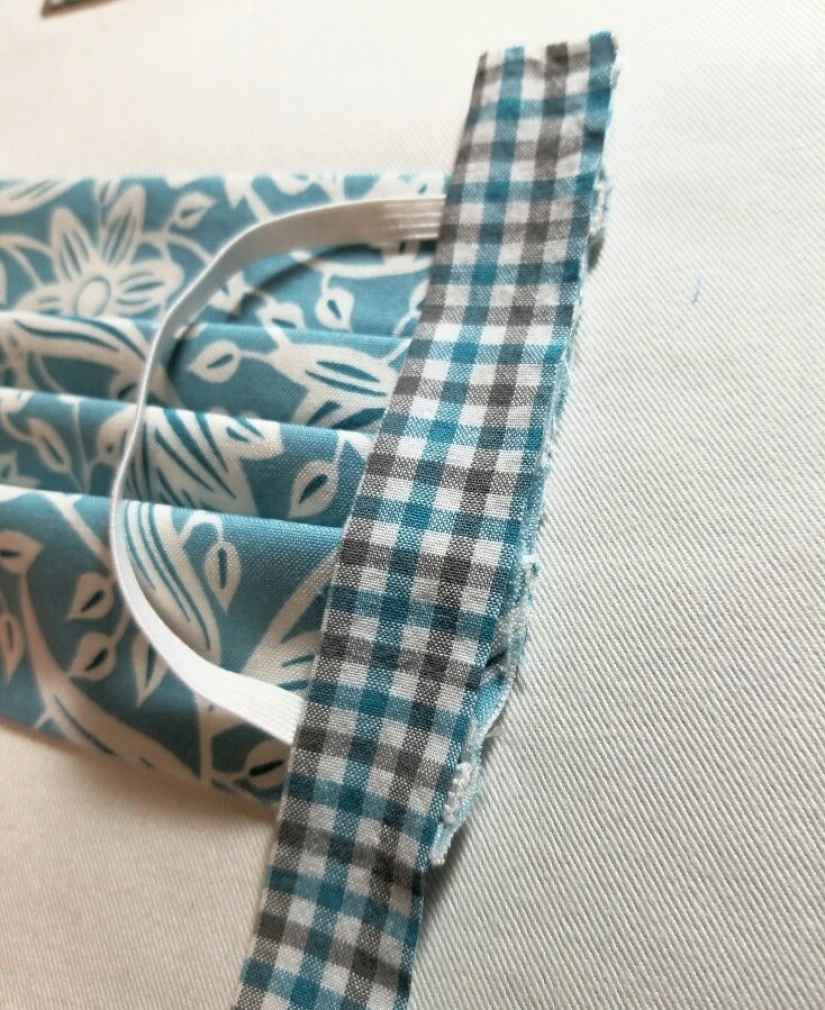
Place the strip on top of the rubber band so that the raw edges match.
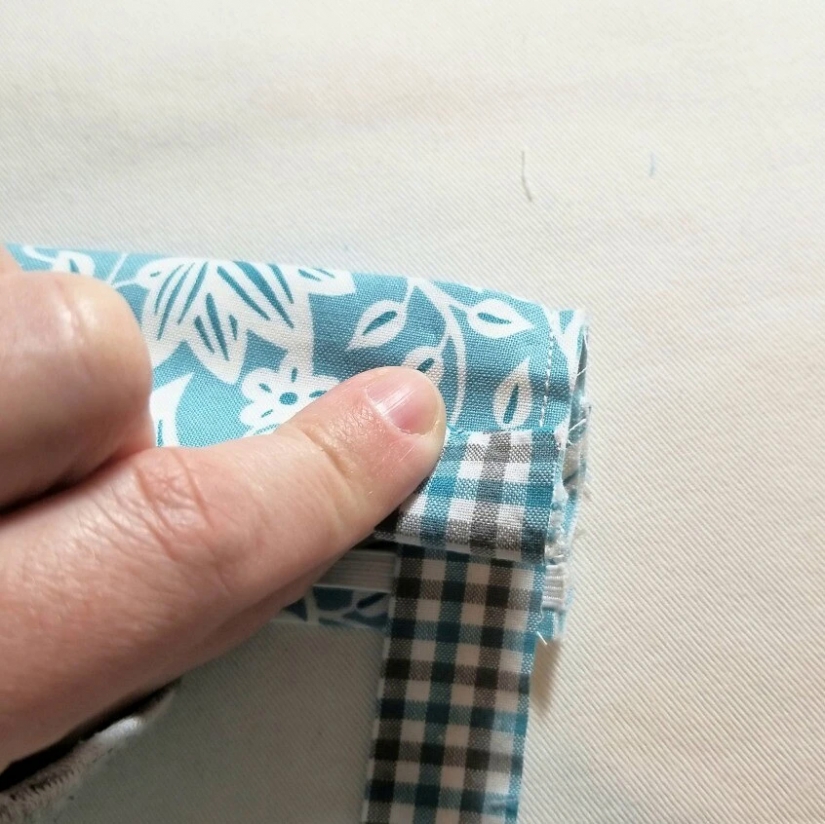
Wrap the tip as shown in the photo.
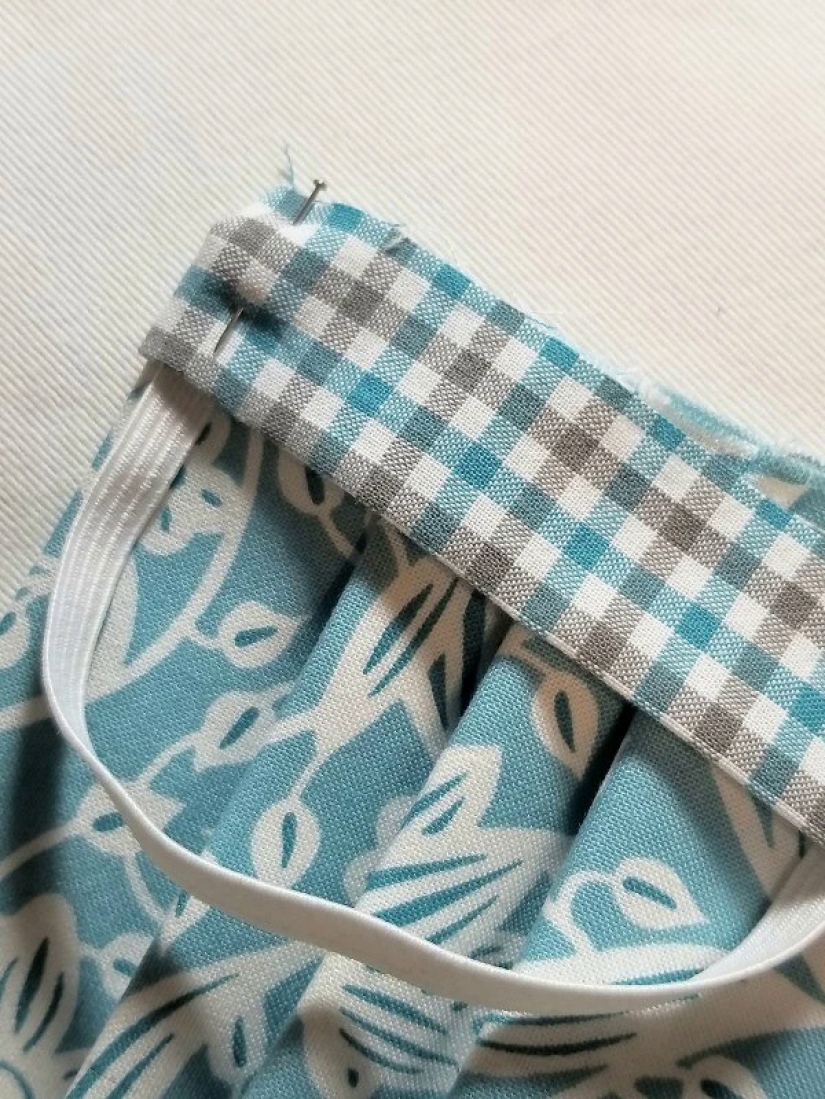
Secure it with a pin.
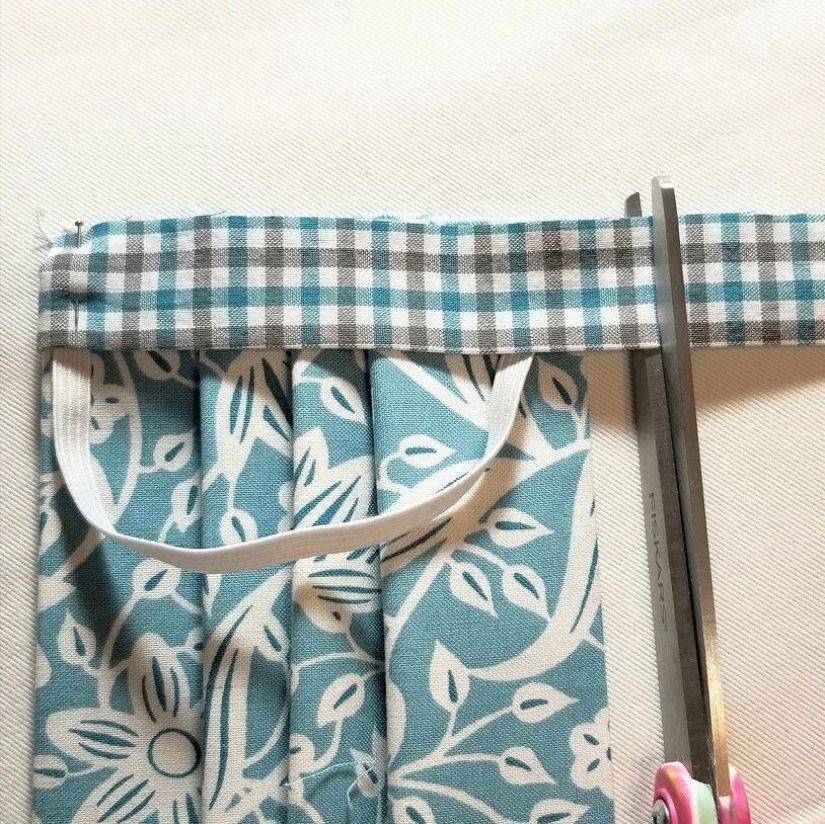
If necessary, cut off the excess part of the strip, leaving 1.5 cm.
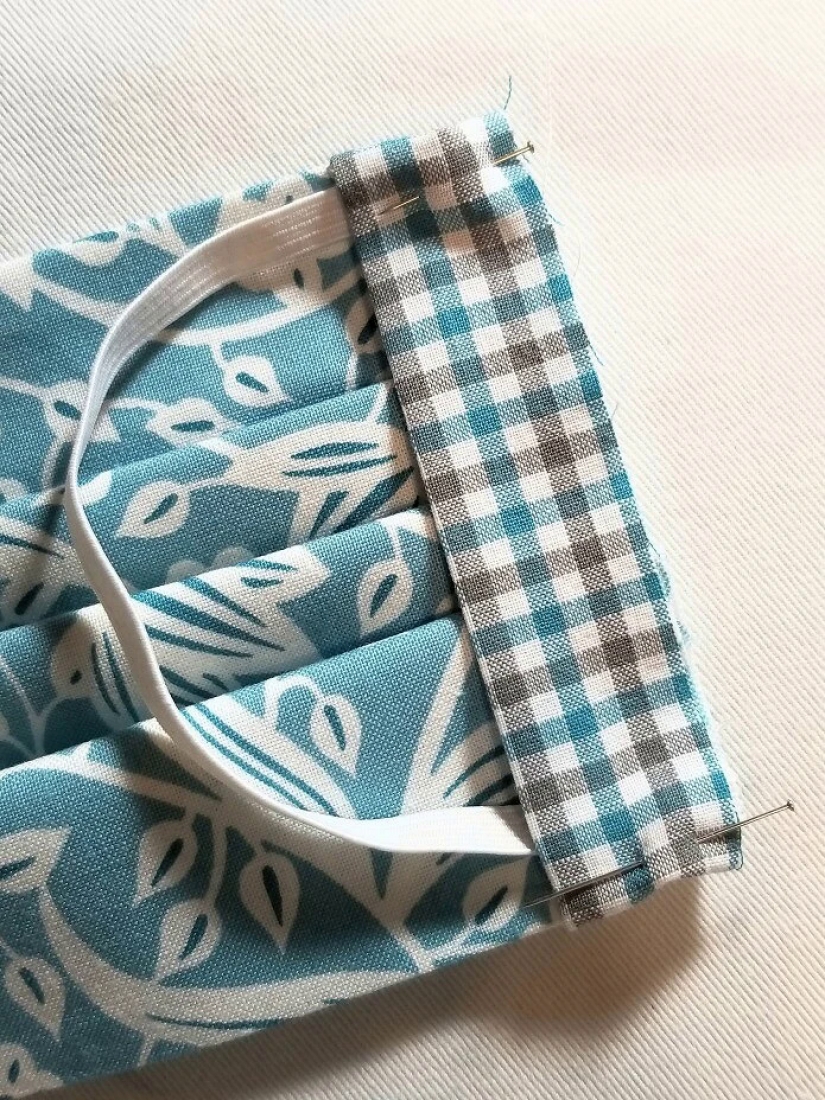
Wrap and secure it in the same way.
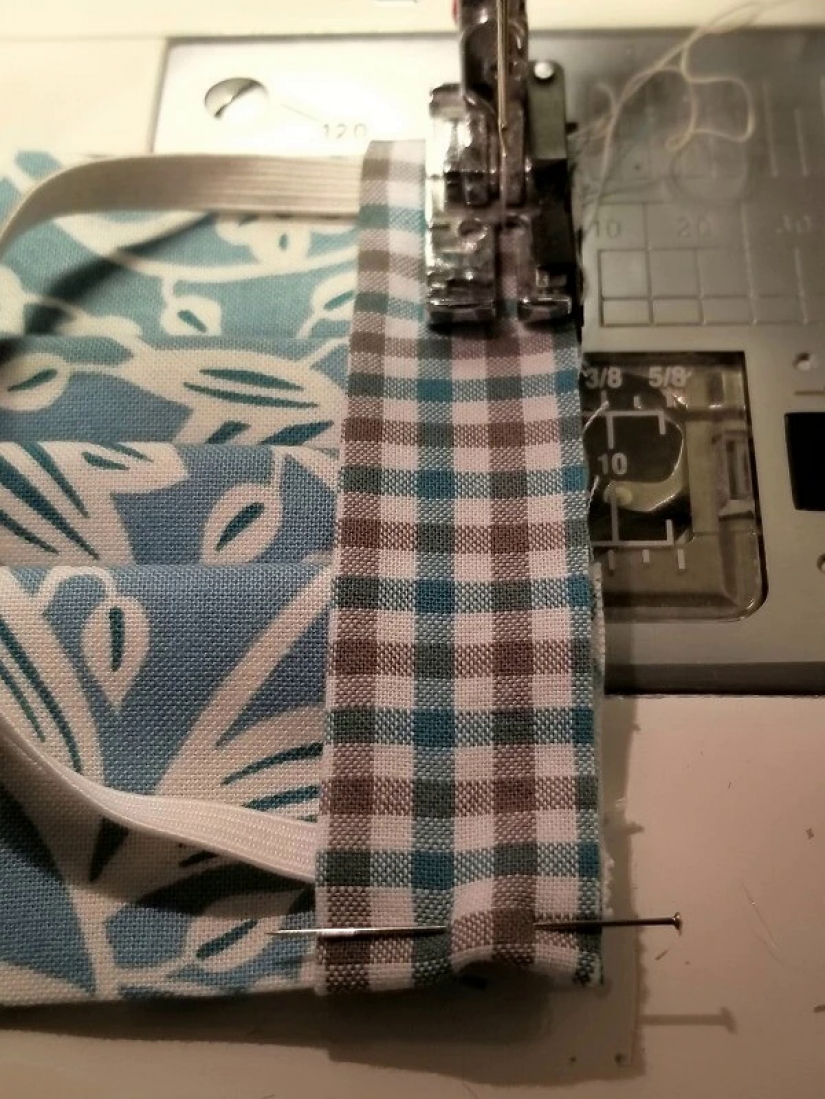
Lay the line, retreating 0.7 cm from the edge. At the beginning and end — pinning.
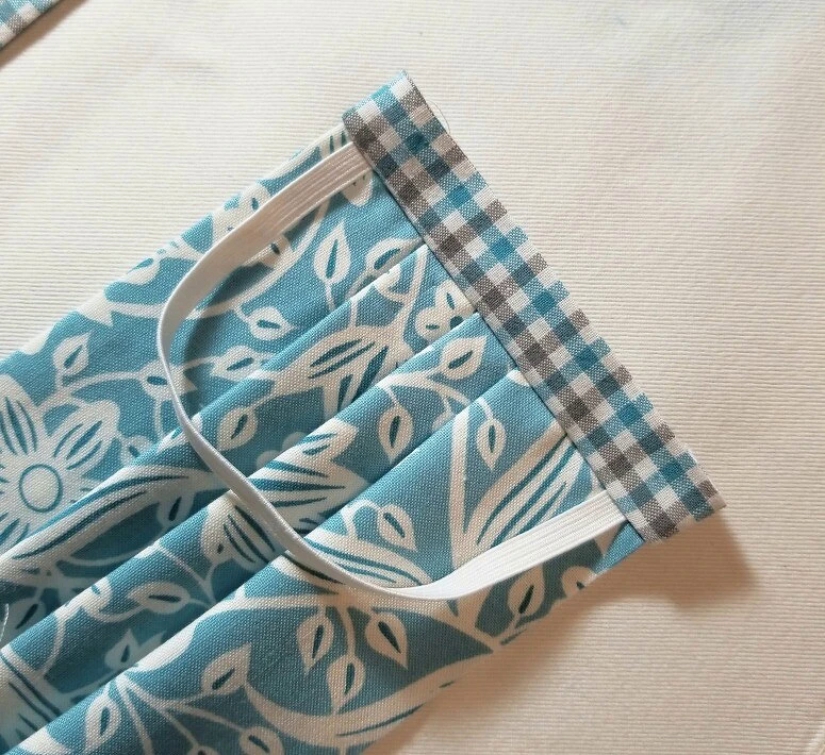
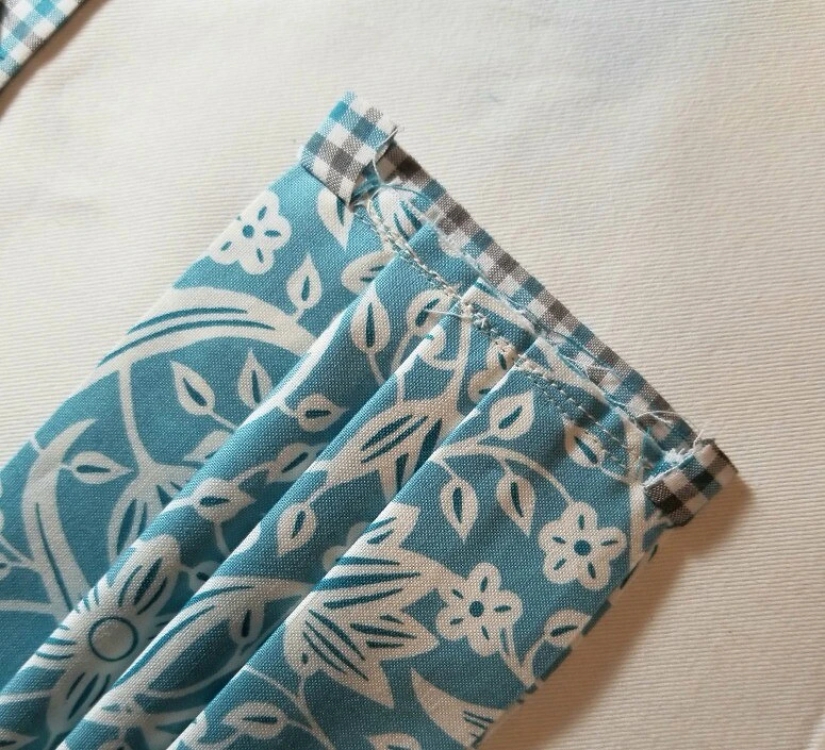
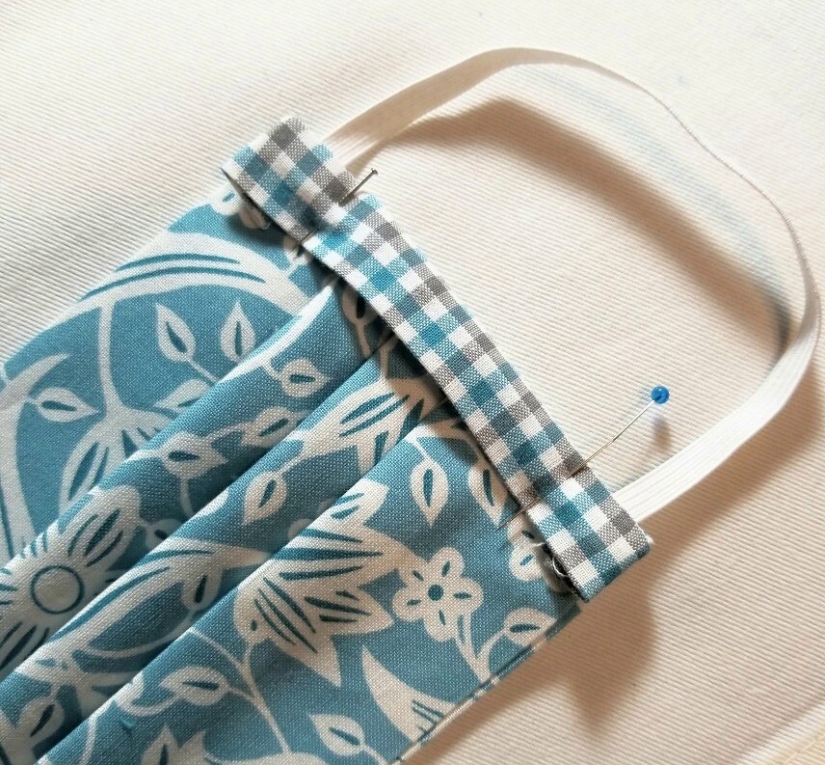
Unscrew the strip as shown in the photo.
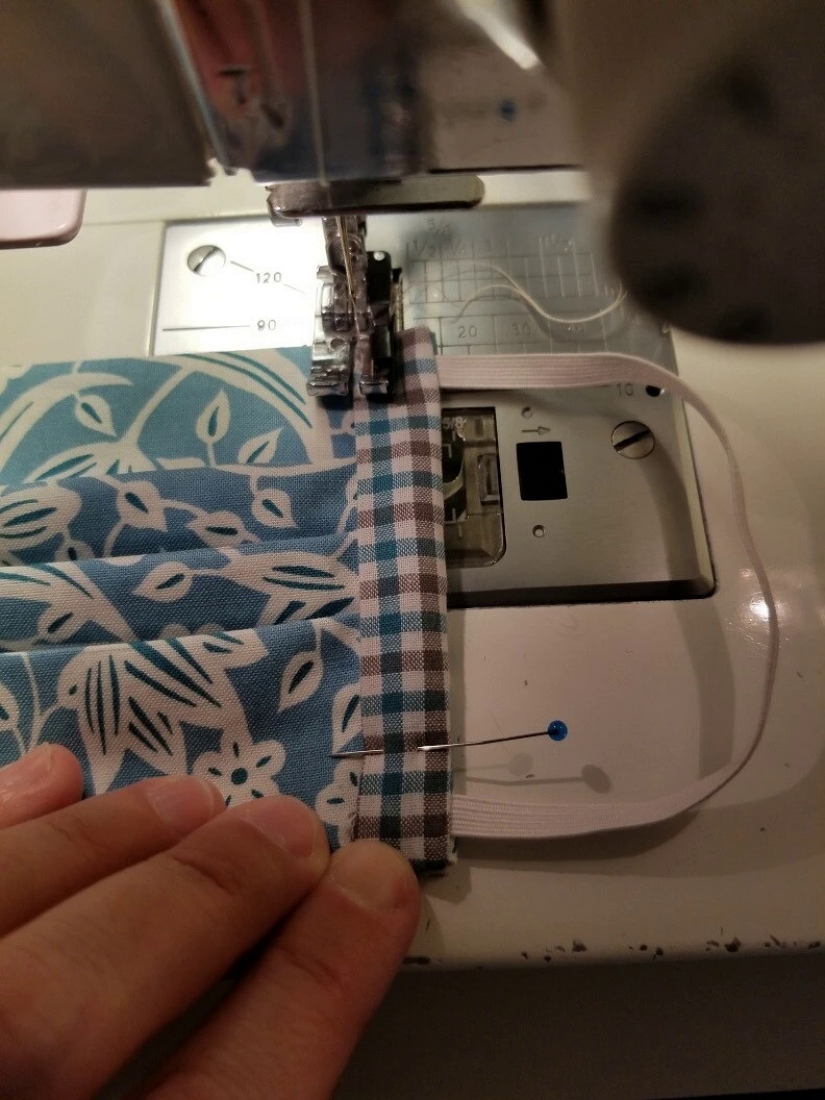
Wrap the strip on the other side and secure with pins.
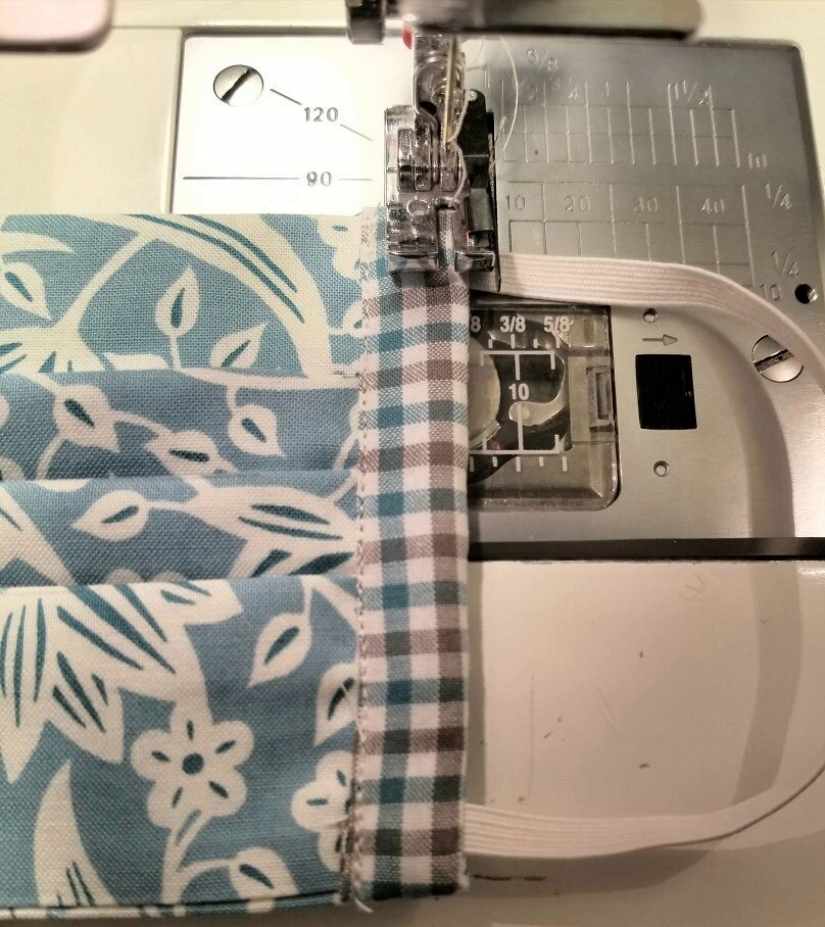
Attach it to the edge.
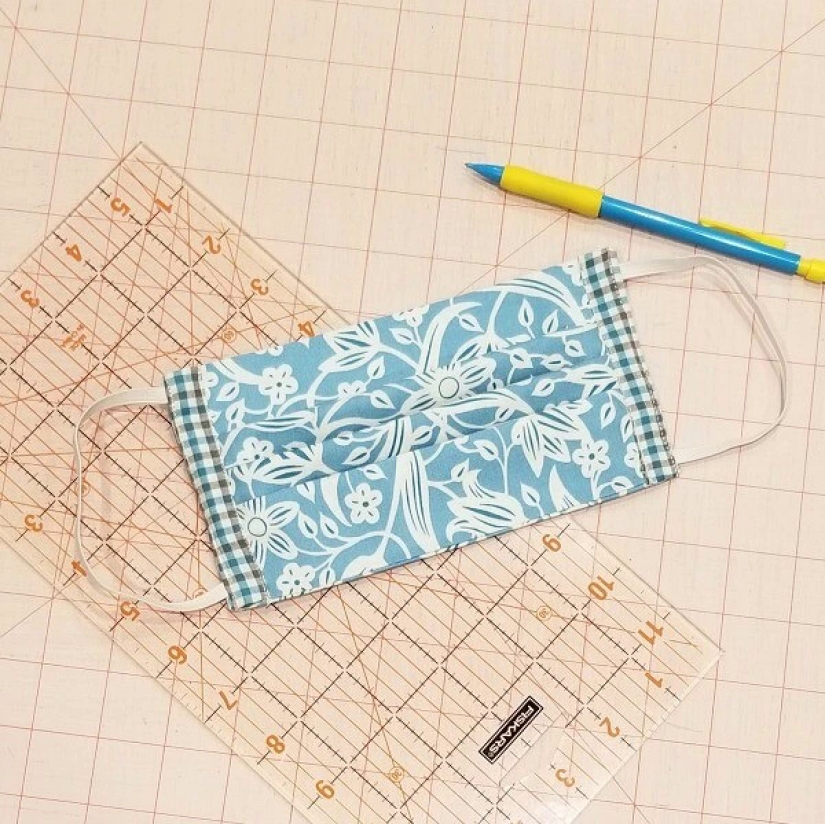
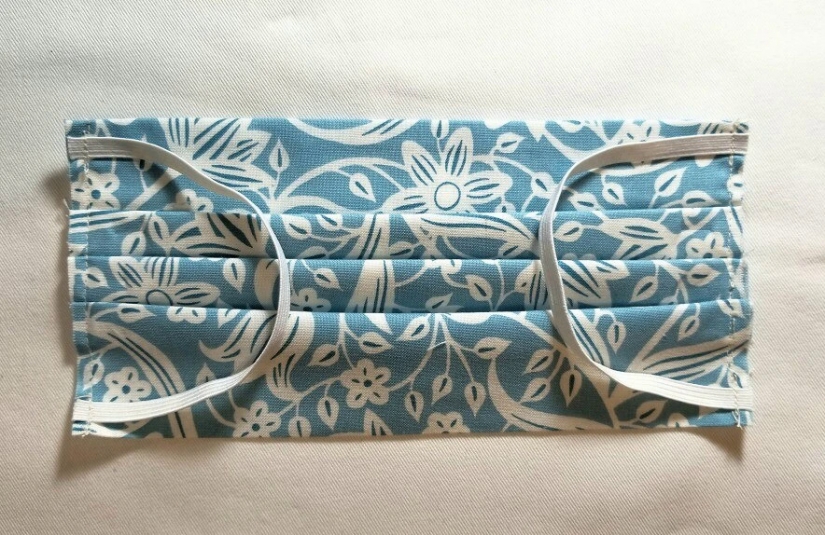
Stitch from the other edge of the strip. Repeat with the second strip. Done.
Such a mask is better made of thin cotton fabric or gauze. The fabric here is folded in 6 layers, so it should not be too dense, so as not to interfere with breathing.
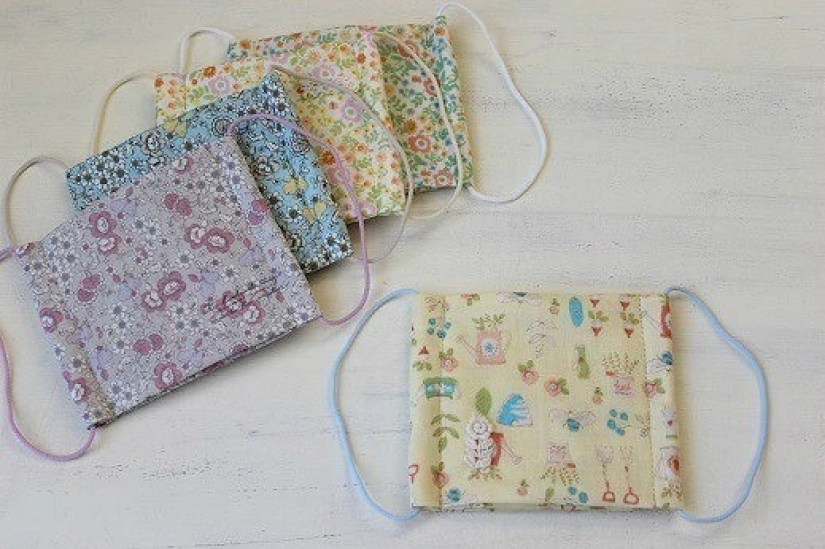
The fabric must be washed, dried and ironed before working.
You will need:
Step 1
Cut out 1 part for the mask. For a medium-sized mask for an adult — 30×60 cm, for a child's mask-20×40 cm (adjust the size if necessary).
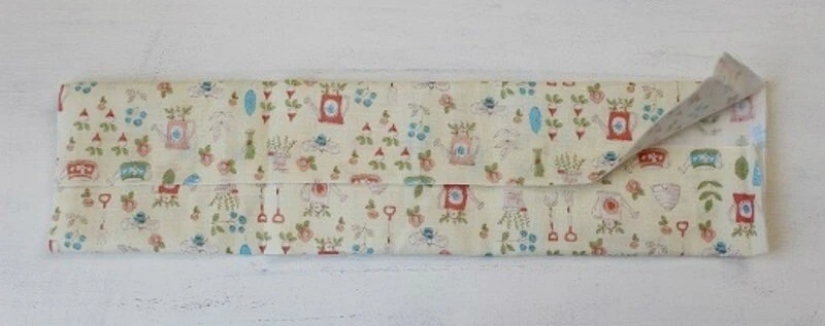
Fold the part along the long sides with the inside out, as shown in the photo.
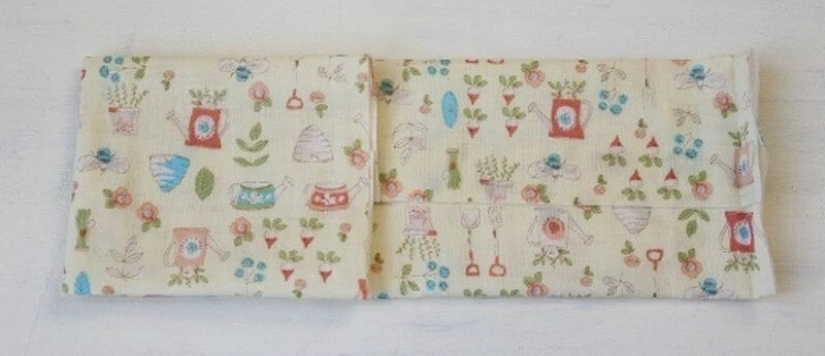
The edges should overlap each other by 1.5-2 cm.
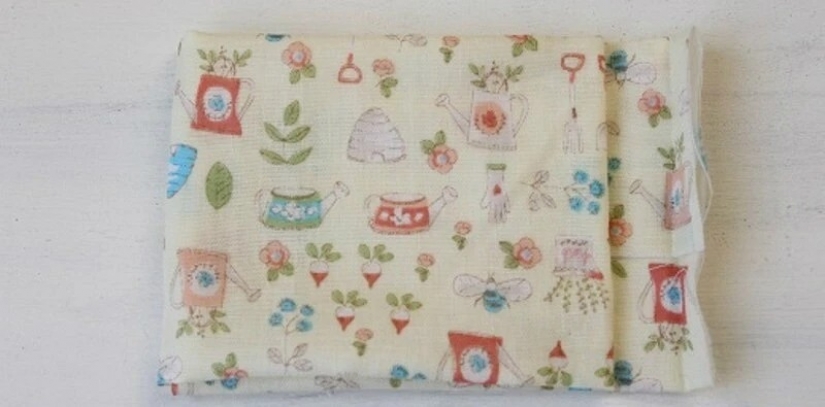
Then fold the part twice, as shown in the photo. Leave a 2.5 cm strip on the right side.
Step 2
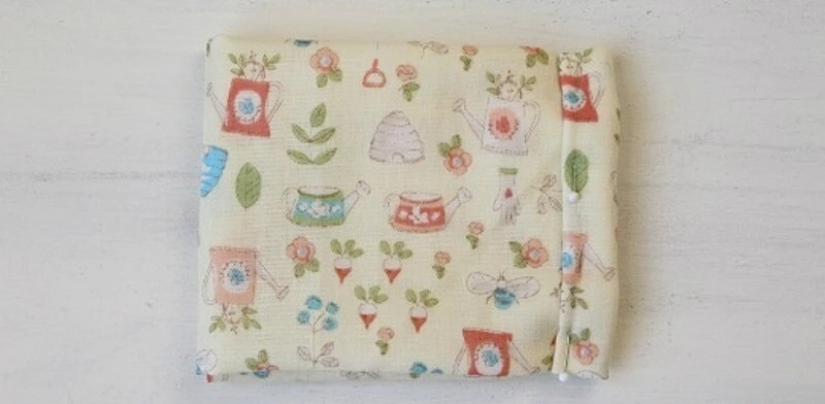
Turn up the free right edge twice and secure it with pins.
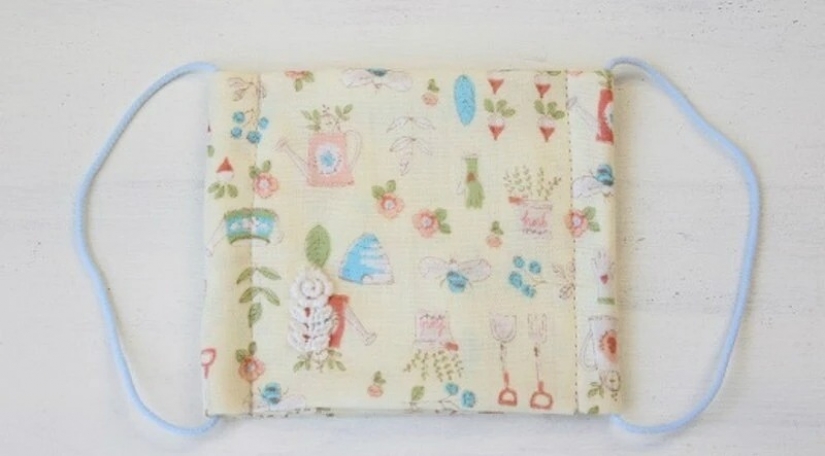
Attach the doorway to the edge. On the opposite side, lay the line, retreating 1.3 cm from the fold to form a second drawstring.
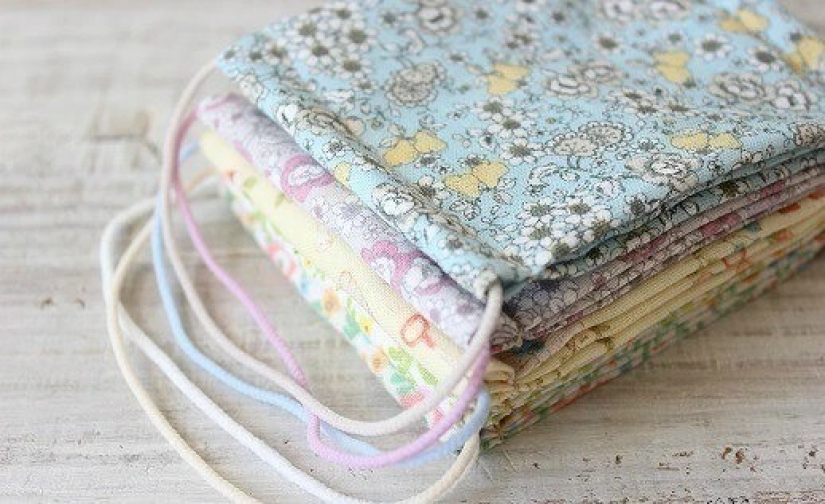
Try on the mask and determine the desired length of the elastic bands. Cut off the pieces of elastic, thread them into the drawstring and tie them in knots. Done.
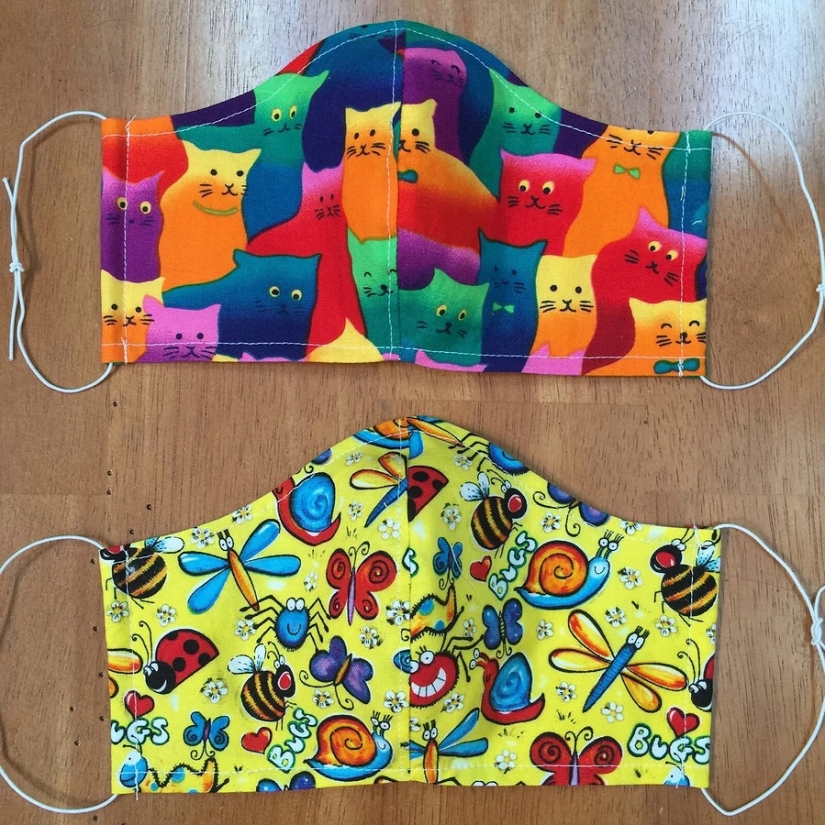
This mask is cut out according to a template and has a seam in the front, due to which it fits the face better.
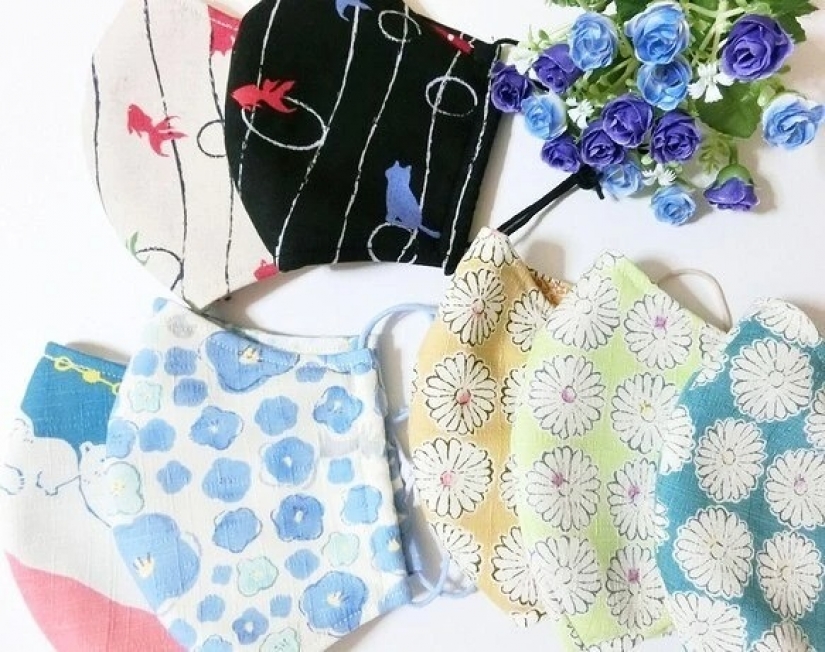
The mask is double-layered, it can be sewn, for example, from cotton or cotton flannel.
You will need:
Step 1
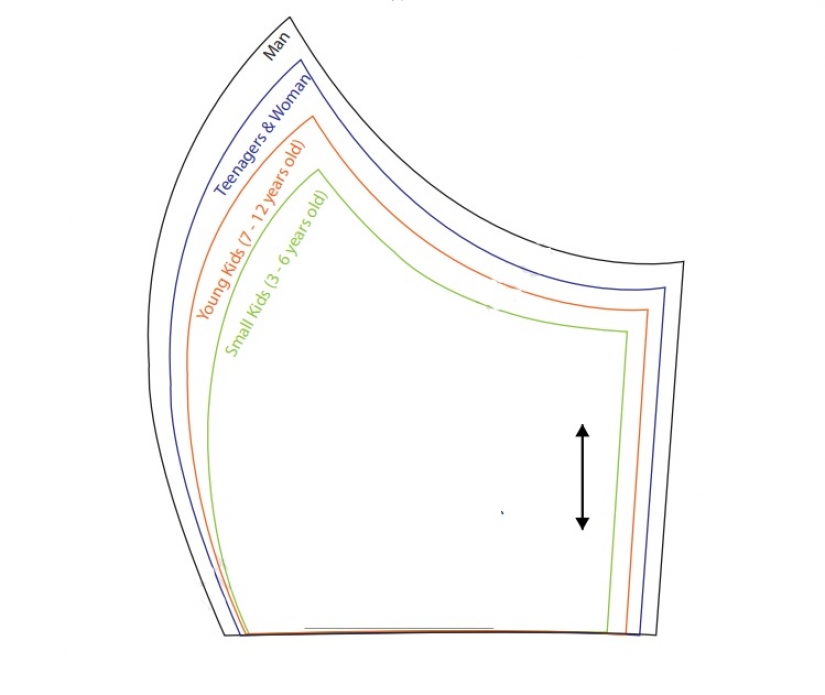
Print and cut out the template. There are 4 templates (for children 3-6 years old, for children 7-12 years old, for an adult woman and for an adult man).
Step 2
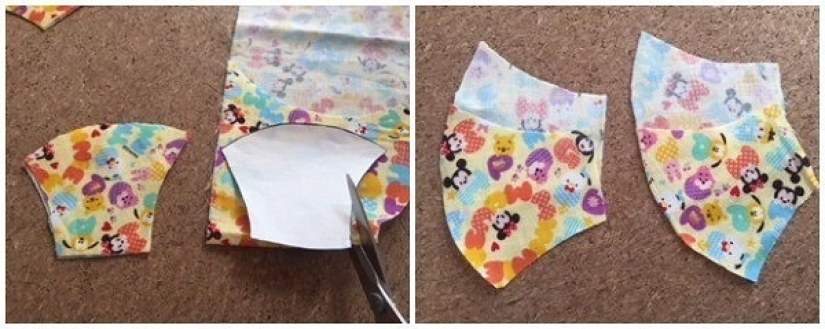
Cut out 4 parts, 2 of which are in the mirror image. Add allowances of 0.6−0.7 cm everywhere.
Step 3
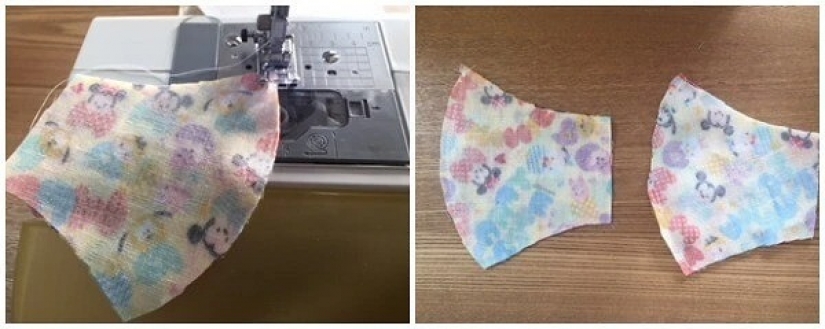
Fold the parts in pairs face to face and make the middle seams of the mask.
Step 4
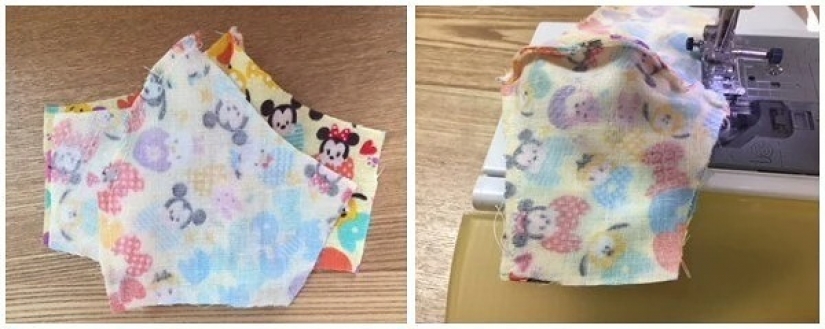
Fold the resulting parts face to face and stitch on the long sides.
Step 5
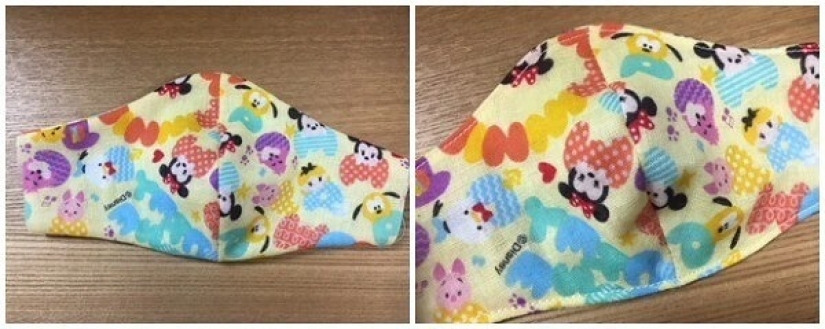
Turn out the mask, straighten the allowances and iron them. Stitch on the long sides, retreating from the edge of 0.5 cm.
Step 6
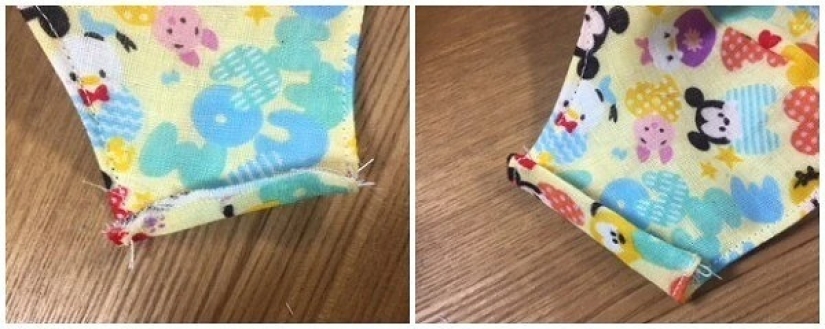
Turn up the short edges twice and lay the line, forming a drawstring and securing the doorway.
Step 7
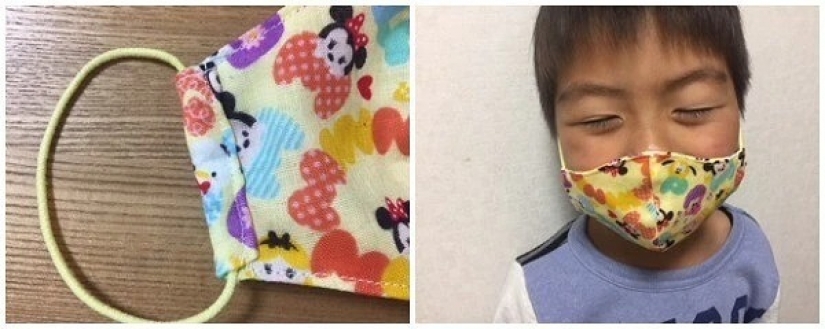
Determine the desired length of the elastic bands, cut off the pieces of the elastic band. Using a safety pin, thread the elastic band into the drawstring, tie the ends.
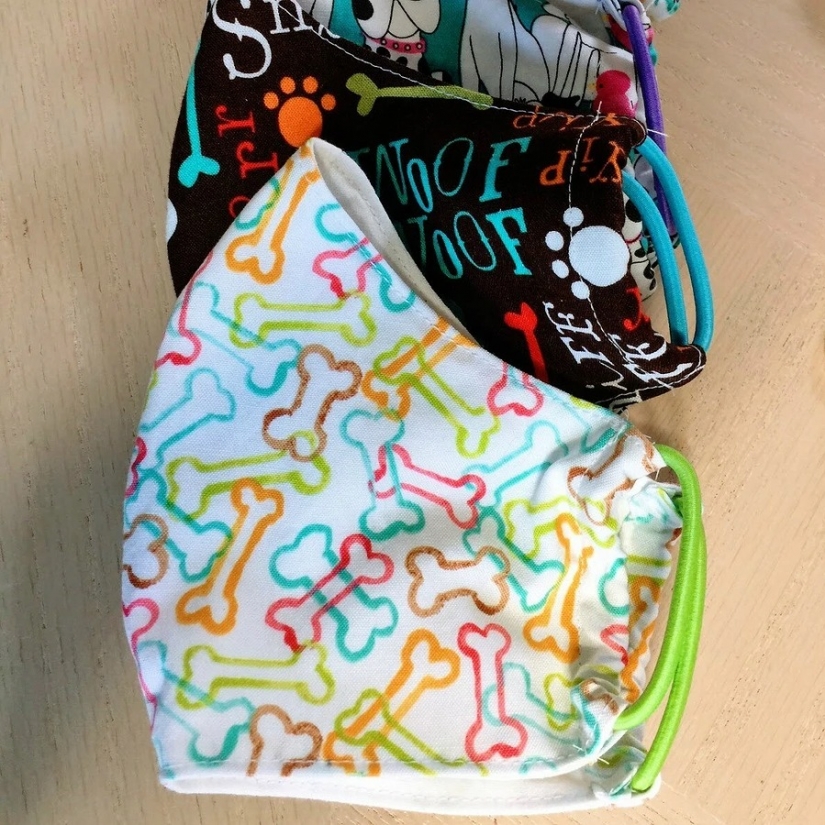
Done.
This mask has a pocket inside, where an additional filter tab is inserted. This tab can be sewn from a non-woven material, such as non-woven towels or napkins. You can stitch several of these tabs and change them.
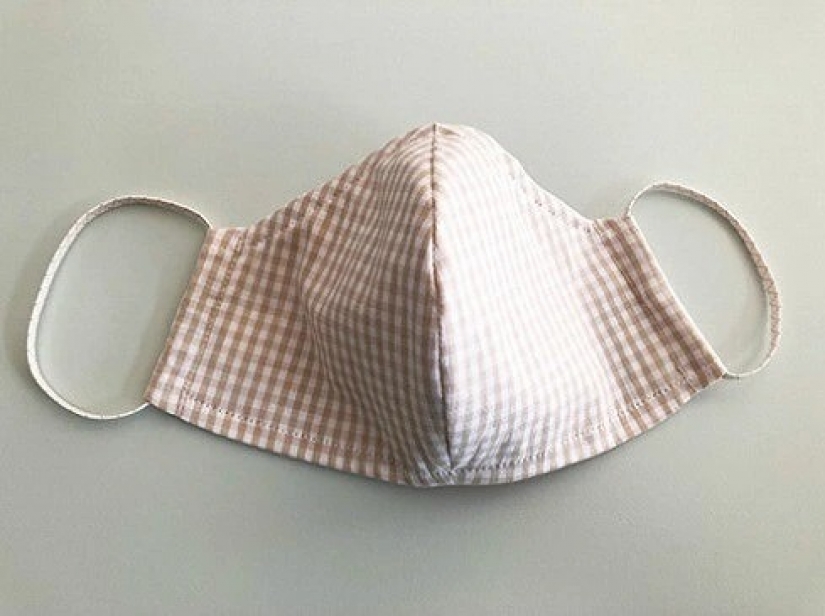
At the top of the mask, a drawstring is provided, where the wire is inserted. You need not too thick, but at the same time — a well-bent and shape-preserving wire. When the mask is put on the face, this wire can be bent to the shape of the nose and cheeks, due to which the mask will fit more tightly.
You will need:
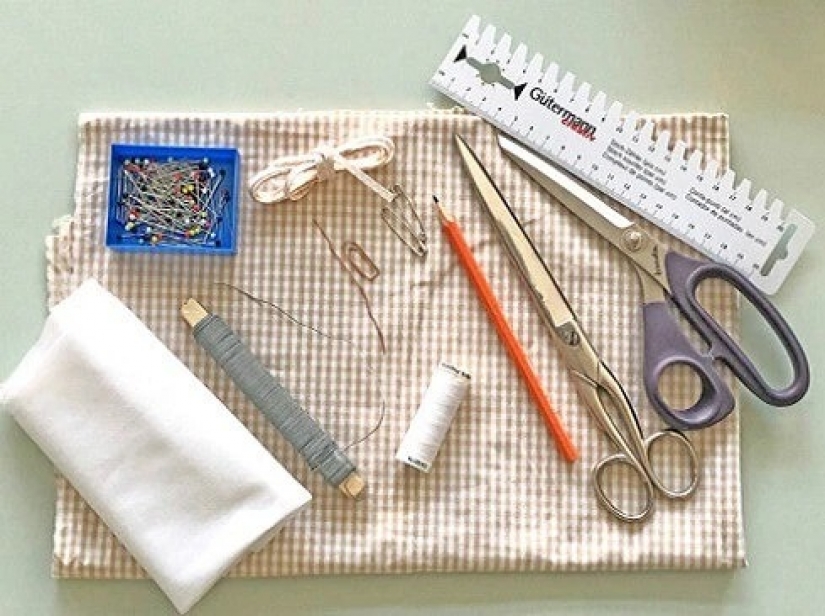
Step 1
Print out the pattern pages. For each mask, you need 2 patterns:
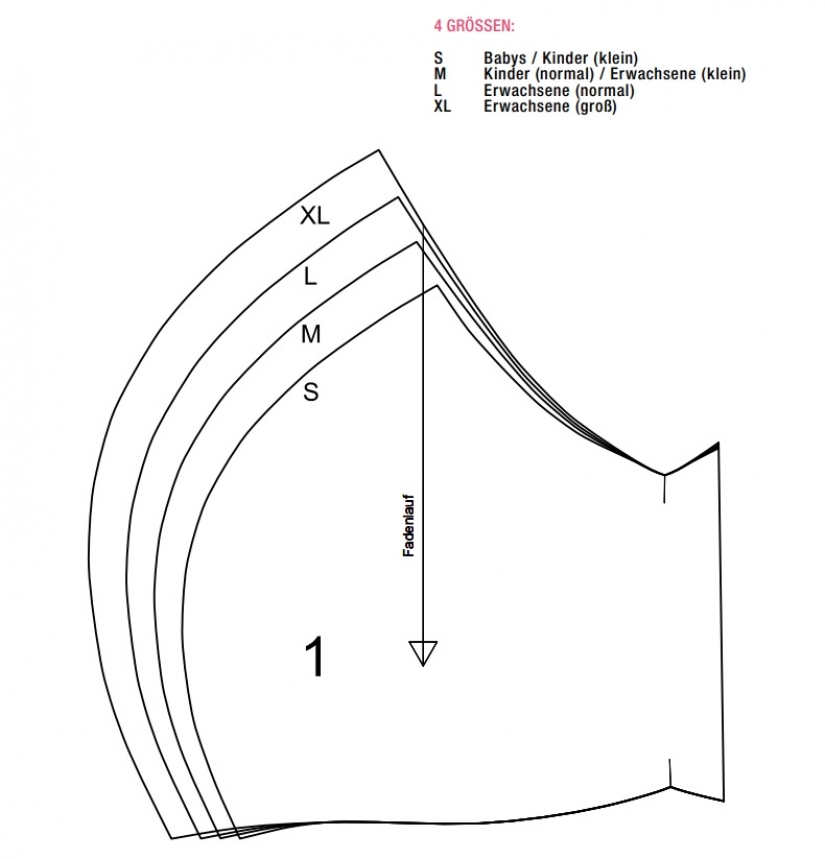
the main part
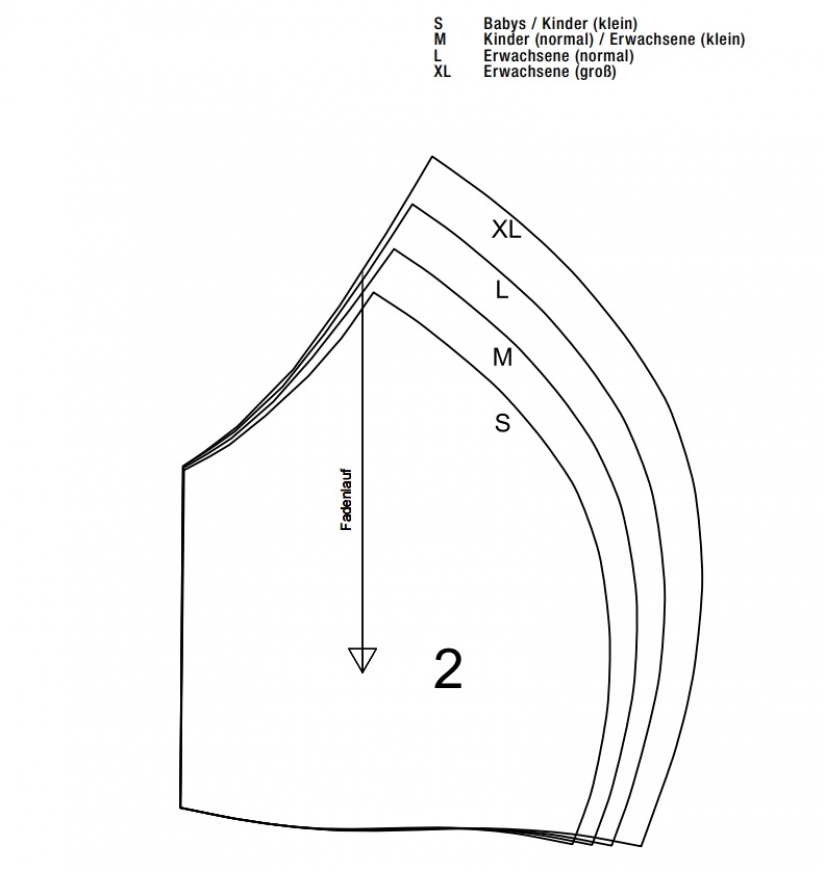
and the lining.
The template assumes 4 mask sizes:
Cut out the templates from the paper.
Step 2
The fabric for the mask must be washed, dried and ironed before working. Fold the prepared fabric in half, face inwards. Pin the templates to the fabric and circle them with a pencil or chalk. Allowances of 1 cm are already taken into account by the templates.
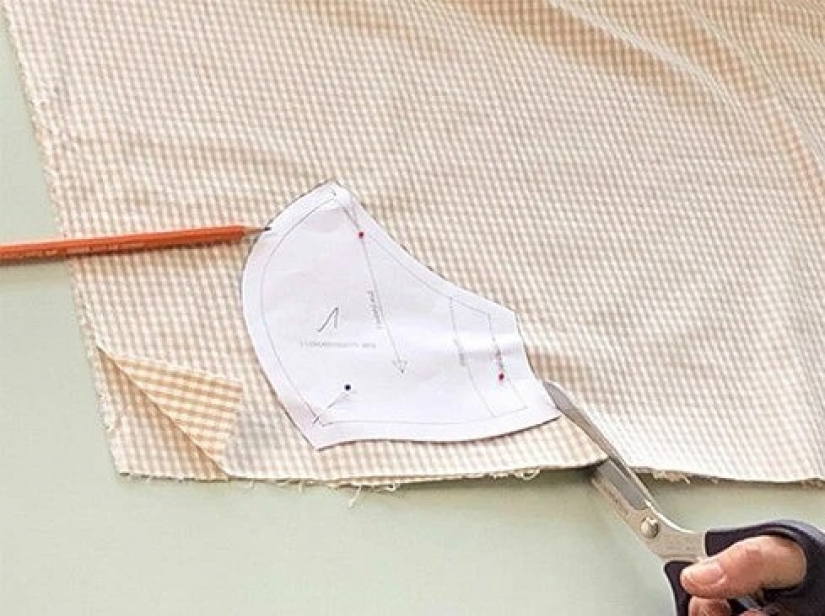
Cut out so 2 main parts and 2 lining parts (they are also valve parts) from the fabric. On the main parts, make notches of 3 mm where it is indicated on the template. According to the same principle, according to the valve template, cut out 2 parts of the tab from non-woven material. The details of the tab on the upper and lower lines are cut by 1 cm, so that after the tab can be inserted into the valve.
Step 3
Break off the templates, and leave the parts folded in pairs with the front sides inside.
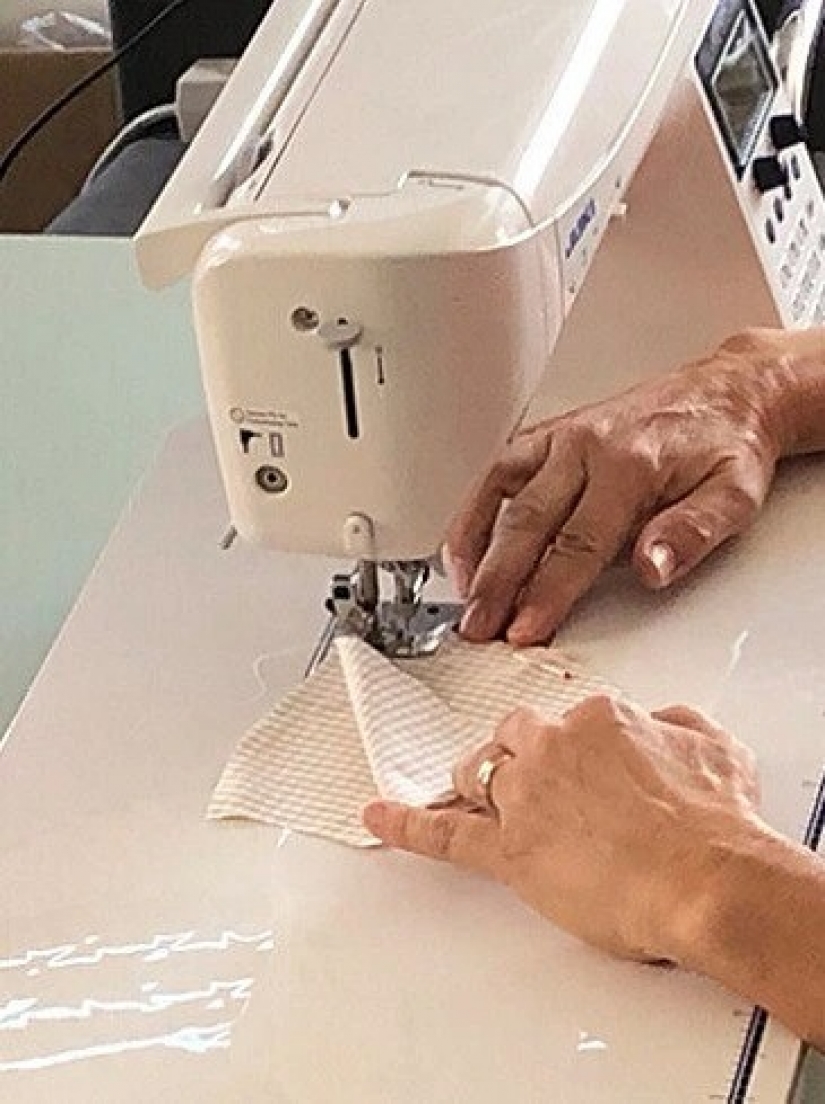
On the main parts, the lining parts and the tab parts, make the middle seam, leaving an allowance of 1 cm. Cut the allowances to 0.5 cm. Iron out the seams.
Step 4
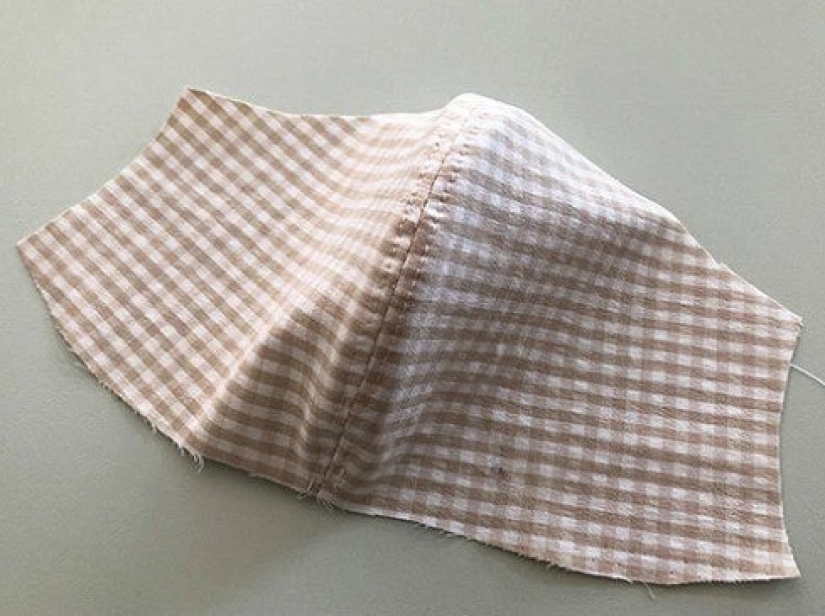
On all parts, stitch the completed seams on both sides, retreating from the seam 2 mm. The seams will become flat.
Step 5
Work the narrow sides of the lining parts on the overlock or in a zigzag pattern.
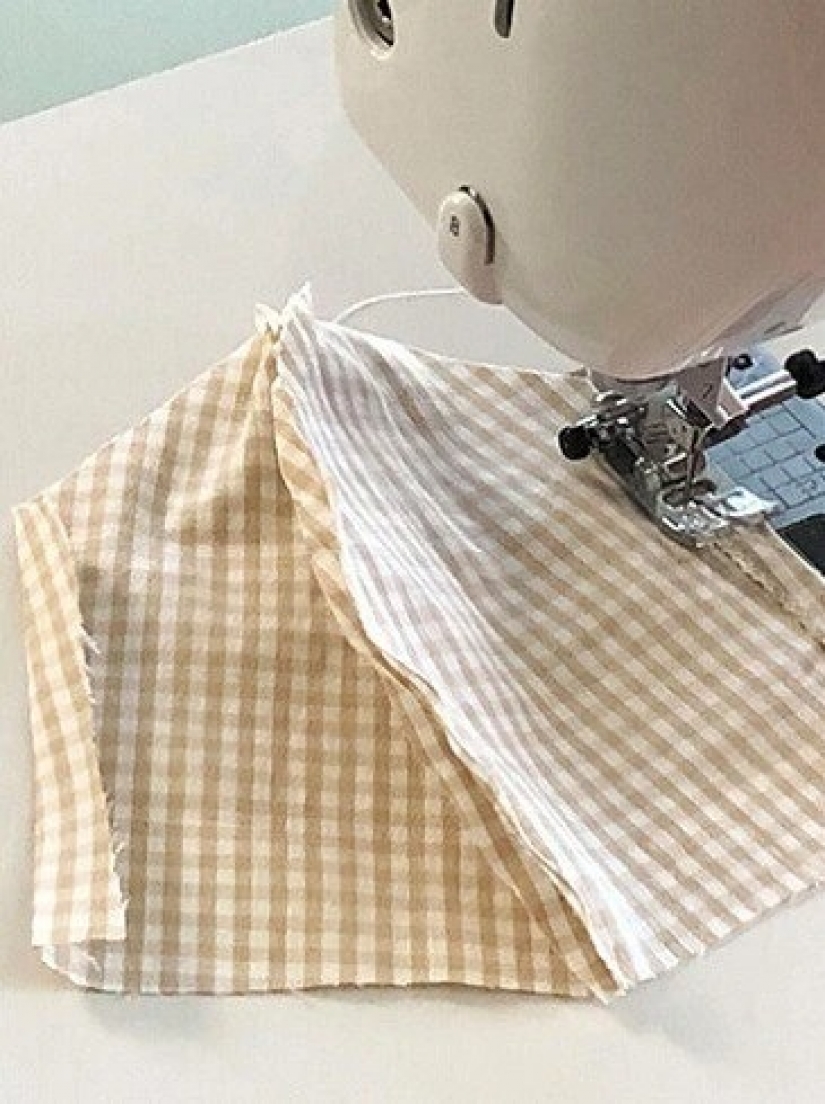
Then turn them 1 cm inside and iron them. Lay the lines, fixing the doorways.
Step 6
Fold the main part and the valve part with the front sides inside. Align the middle seams and pin the details together. Stitch the parts along the upper and lower edges, leaving an allowance of 1 cm.
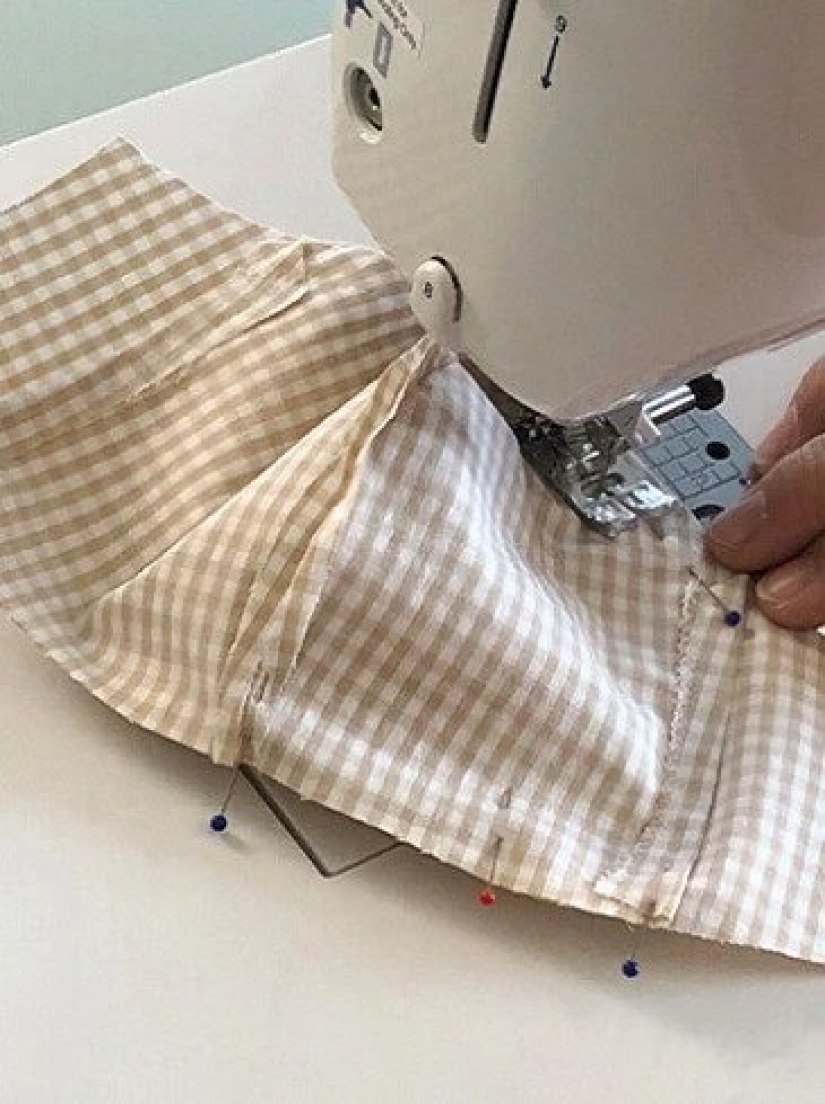
Remove the mask and iron the seams. Also, turn up the free allowances of the main part by 1 cm and iron them on the wrong side. Line the upper and lower edges at a distance of 7 mm from the edge.
Step 7
Treat the side edges of the mask with a zigag. Then turn them on the wrong side by 1.5 cm (along the line between the incisions) and iron them.
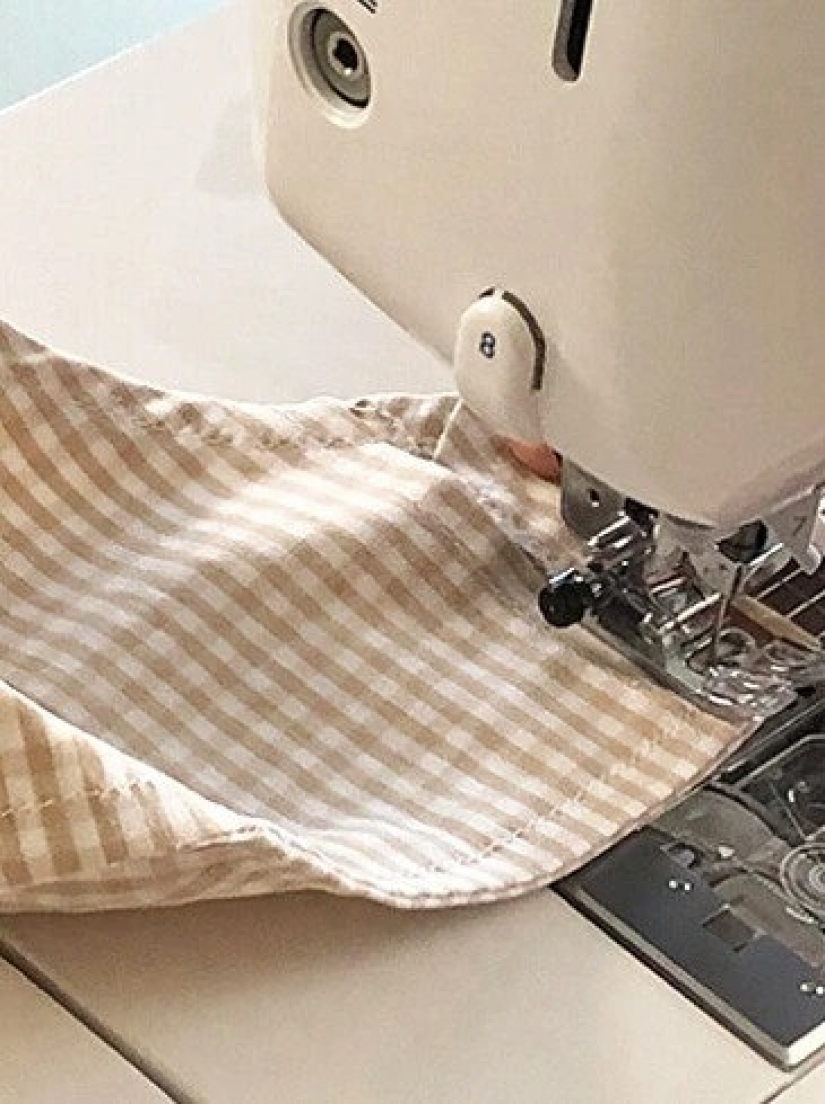
Lay the lines at a distance of 1 cm from the folds, forming the drawstring.
Step 8
Cut the elastic band into 2 equal parts. In each of the wings, insert a piece of elastic with a safety pin.
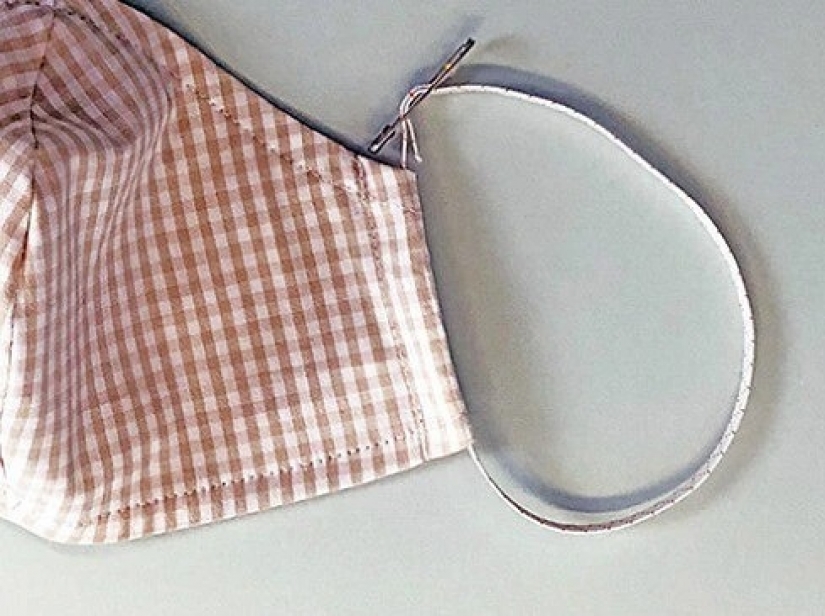
Try on the mask, determine the convenient length of the elastic bands, close them in a ring with an overlap and pin them with safety pins. The elastic band with pins can be removed during washing.
Step 9
Cut a piece of wire 16 cm long and bend and fix the ends, as shown in the photo.
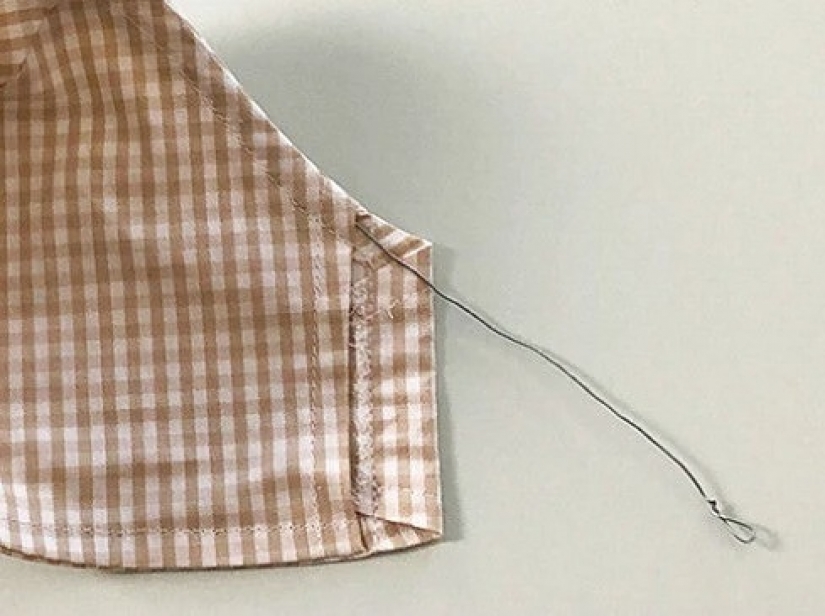
Insert the wire into the drawstring at the top of the mask. When putting it on, press the wire against your face so that the mask fits more tightly. The wire can also be removed before washing. Insert a non-woven tab into the valve. Done.
Keywords: Mask | Master class | With your own hands | Tips
Recent articles

It's high time to admit that this whole hipster idea has gone too far. The concept has become so popular that even restaurants have ...

There is a perception that people only use 10% of their brain potential. But the heroes of our review, apparently, found a way to ...
Related articles

Before the New Year holidays, many people have a question about how to decorate a house to create a festive mood. This can be done ...

Choosing a gift for a birthday or any other significant date can be excruciatingly difficult. But there are always classic options ...

In this article, we will tell you how you can decorate a room with your own hands with the help of thirty classic and modern decor ...

New Year's is a time to surprise and delight loved ones not only with gifts but also with a unique presentation of the holiday ...